Are you interested in growing your own ginger at home? It’s a great way to have fresh ginger anytime. Plus, it’s a fun and rewarding hobby. Ginger cultivation might seem tricky, but with the right tips, you can have a lot of ginger.
By learning how to gardening ginger, you can add it to many dishes. This includes stir-fries and baked goods. We’ll cover everything from the best ginger varieties to how to prepare the soil. You’ll also learn how to get the most ginger from your garden.
Key Takeaways
- Learn the benefits of growing ginger at home
- Discover the best varieties of ginger to cultivate
- Understand how to prepare the soil for optimal ginger growth
- Get tips for maximizing your ginger yield
- Explore common mistakes to avoid when growing ginger
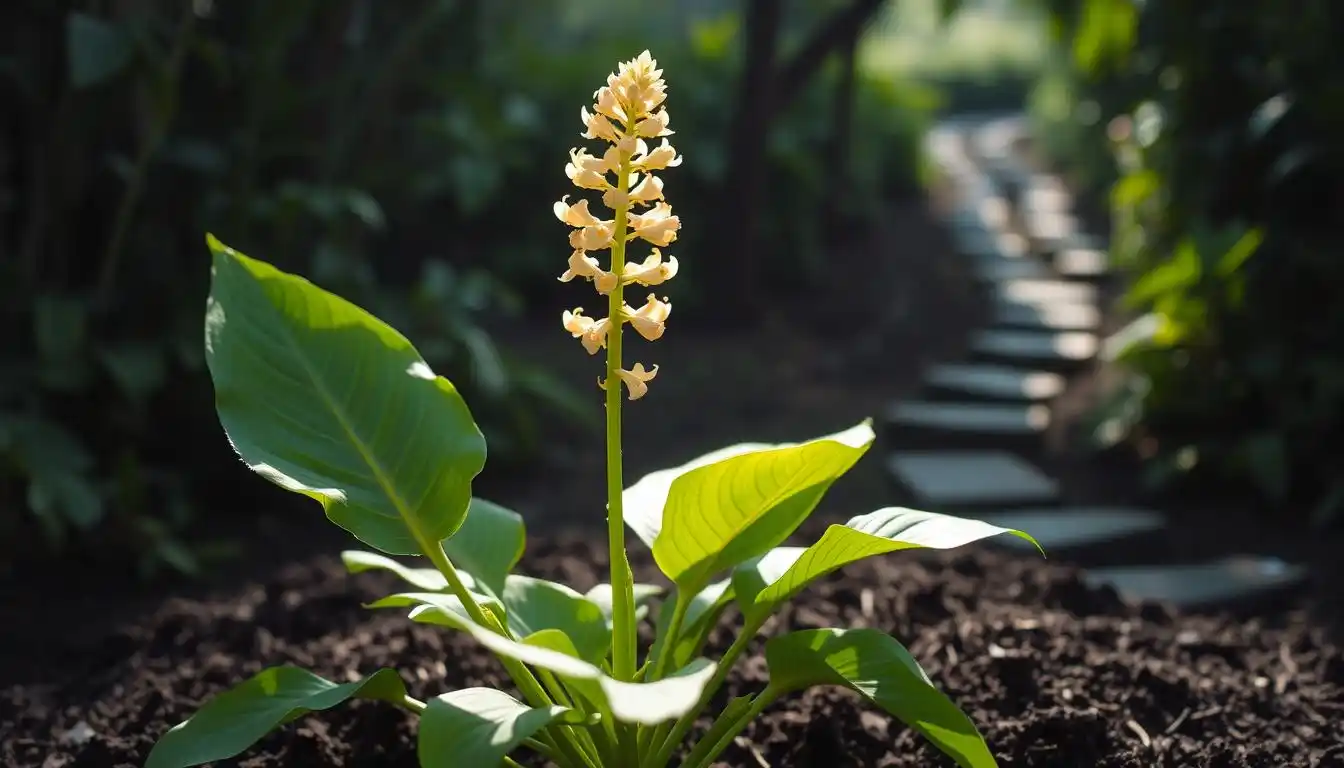
Understanding Ginger: A Versatile Plant for Home Gardeners
Ginger has a rich history and many uses. It’s a great choice for home gardeners. This plant adds flavor and health benefits to many dishes and routines.
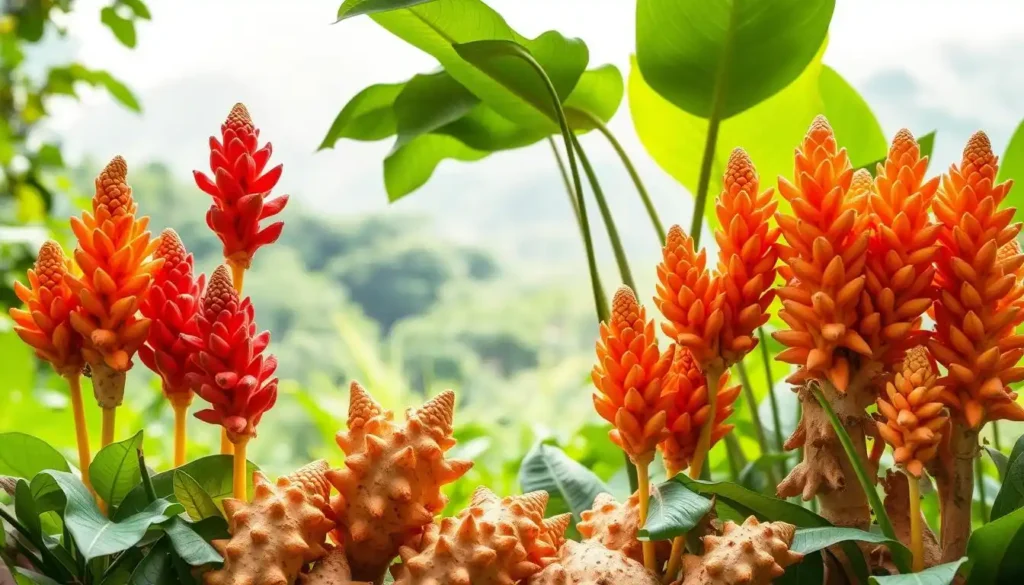
The Origins and Varieties of Ginger
Ginger, known as Zingiber officinale, comes from Southeast Asia. It has spread worldwide, with different areas growing their own types. Some well-known varieties include:
| Variety | Characteristics | Uses |
|---|---|---|
| Japanese Ginger | Milder flavor, tender | Culinary, pickling |
| Australian Native Ginger | Stronger, more aromatic | Cooking, medicinal |
| Chinese Ginger | Robust flavor, versatile | Culinary, traditional medicine |
Why Growing Your Own Ginger Is Worth It
Growing your own ginger means having a fresh supply at home. It ensures the quality and potency of your ginger. Plus, you can pick it when you need it. Homegrown ginger also avoids additives found in store-bought ginger.
The Benefits of Growing Your Own Ginger
Growing your own ginger is rewarding. It offers health and economic benefits. You get fresh ginger, which tastes better than store-bought.
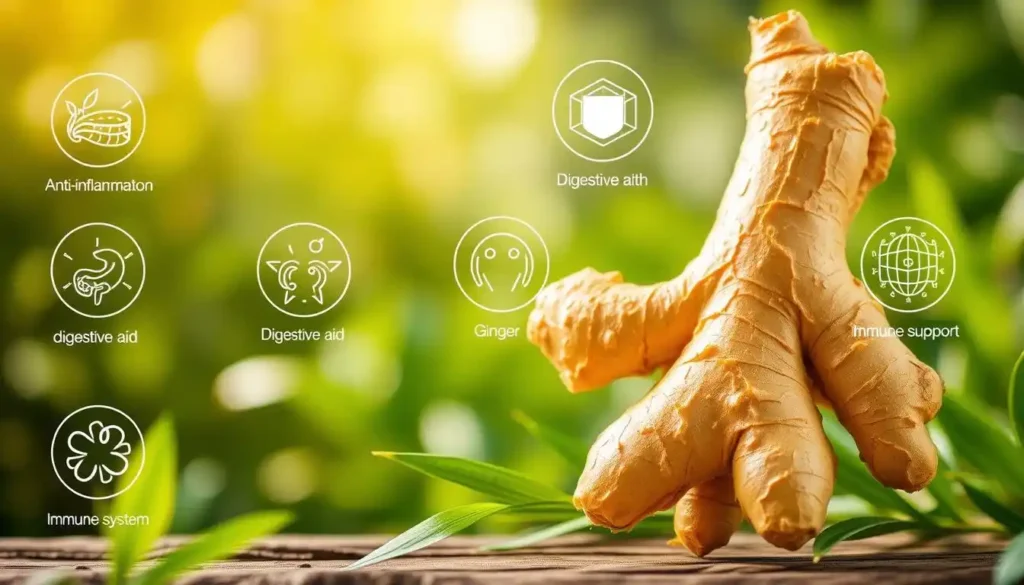
Health Benefits of Fresh Ginger
Fresh ginger is known for its anti-inflammatory properties and aiding digestion. It can help with nausea, pain, and lower blood sugar. Gingerol is the key compound behind these benefits.
Adding fresh ginger to your meals is easy. You can make teas, cook with it, or eat it raw. Ginger’s versatility makes it simple to enjoy its health perks.
Economic Advantages of Home-Grown Ginger
Growing ginger at home saves money. You won’t need to buy it from stores. Plus, you can sell any extra to friends, family, or at markets.
| Benefits | Description | Potential Savings |
|---|---|---|
| Reduced Grocery Bills | No need to purchase ginger from stores | Up to $10/month |
| Selling Surplus | Potential to earn money from excess ginger | Up to $20/month |
| Total Savings | Combined benefits of growing ginger | Up to $30/month |
Growing your own ginger boosts your health and finances.
Essential Requirements for Successful Gardening Ginger
To grow ginger well, you need the right climate, soil, and light. Knowing these basics is key for a good harvest.
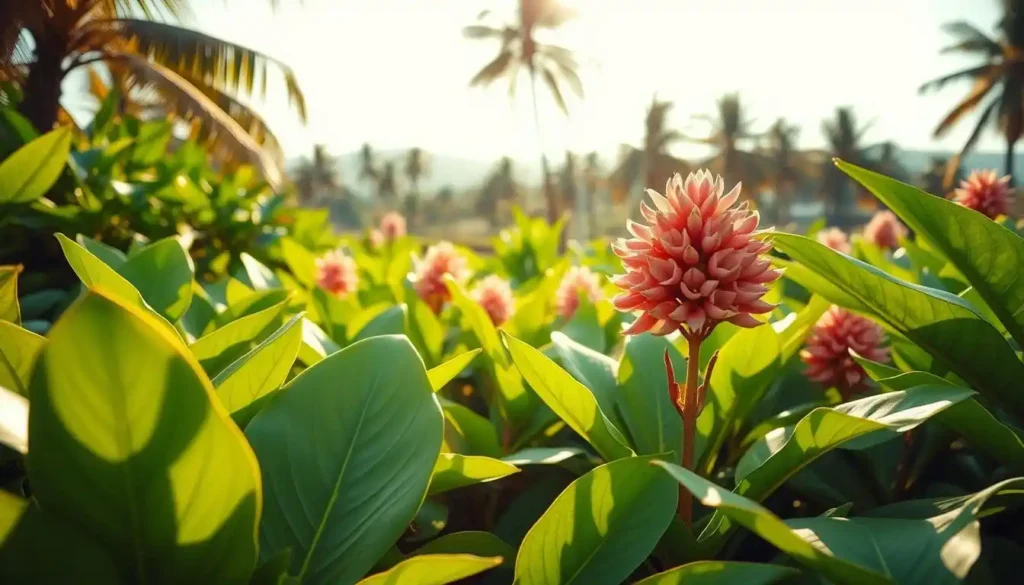
Climate Considerations for Ginger Growth
Ginger loves warm, humid places. It does best where it rains a lot and has clear wet and dry seasons. If your area is cooler or drier, you can still grow ginger. Just use a greenhouse or a container that can go inside when it’s cold or dry.
Soil Requirements for Optimal Results
The soil for ginger should be rich and drain well. Mix compost, manure, and perlite or sand for nutrients and drainage. The best pH for ginger is between 5.5 and 6.5, a bit acidic to neutral.
Light and Temperature Needs
Ginger likes partial to full shade, especially in hot places, to avoid burning. It grows best between 75°F and 85°F (24°C to 30°C). Temperatures under 65°F (18°C) slow it down, and frost can harm it.
By giving your ginger the right climate, soil, and light, you’ll get a healthy and fruitful crop.
Selecting the Right Ginger Rhizomes for Planting
The quality of your ginger harvest starts with the right rhizomes. Choose healthy, vigorous ones for robust, disease-free plants.
Identifying Quality Ginger for Propagation
Look for rhizomes that are firm and have well-developed “eyes” or buds. These areas will grow new shoots.
Visual Indicators of Healthy Rhizomes
Healthy ginger rhizomes are free from mold and have a smooth surface. They should be fresh green when broken. Avoid rhizomes that are dried out, shriveled, or show signs of rot.
Avoiding Common Pitfalls When Selecting Ginger
Watch out for rhizomes with soft spots or early sprouts. These can mean the rhizomes are old or stored wrong.
Organic vs. Conventional Ginger Sources
You can choose between organic and conventional ginger rhizomes. Organic ginger is grown without harmful chemicals. This is good for those who want an organic garden.
Preparing Ginger Rhizomes Before Planting
Before planting ginger, it’s key to prepare the rhizomes right. This ensures a good harvest. Preparing ginger rhizomes involves a few important steps.
Pre-Sprouting Techniques for Better Results
Pre-sprouting helps ginger rhizomes grow before planting. There are several ways to do this.
The Soaking Method
Soaking ginger rhizomes in water for a few hours is simple. It rehydrates them and starts growth. Soaking boosts germination chances.
Using Growth Hormones (Optional)
Using growth hormones can give an extra push. They help with root growth and vigor. But, it’s optional, especially with quality rhizomes.
Cutting and Treating Rhizomes
Large ginger rhizomes might need cutting before planting. Each piece should have an “eye” or bud. Treat the cut ends with fungicide to stop rot.
| Pre-Sprouting Method | Description | Benefits |
|---|---|---|
| Soaking | Soak rhizomes in water for a few hours | Rehydrates rhizomes, stimulates initial growth |
| Growth Hormones | Apply growth hormones to enhance root development | Encourages vigorous growth, improves root development |
| Cutting and Treating | Cut rhizomes into pieces, treat with fungicide | Prevents rot, allows for more plants |
Step-by-Step Ginger Planting Guide
To grow ginger well, follow this easy guide. Planting ginger needs careful timing, depth, and care for a healthy crop.
When to Plant Ginger in Different US Regions
The best time to plant ginger changes by region. In warm places like Florida and Hawaii, you can plant all year. In cooler spots like the Northeast, spring is best after the last frost.
Proper Planting Depth and Spacing
Plant ginger rhizomes 2-4 inches deep, with the “eyes” up. Space them 6-8 inches apart for growth. Correct spacing helps with air and prevents disease.
Initial Care After Planting
After planting, keep the soil moist but not too wet. Good care is key for a strong root system.
Mulching Techniques
Use a 2-inch layer of organic mulch to keep moisture in and weeds out. Mulching also controls soil temperature.
Early Growth Monitoring
Watch your ginger plants for pests or disease signs. Catching problems early helps ensure a healthy harvest.
By following these steps and caring well, you’ll have a great ginger harvest. Remember, consistent care and attention are crucial for growing ginger.
Container vs. Ground Growing: Which Is Best for You?
When growing ginger, you can choose between container gardening and in-ground cultivation. Each method has its benefits. The right choice depends on your garden and what you like.
Container Gardening Techniques for Ginger
Container gardening gives you control over the soil and environment. First, pick the right container.
Choosing the Right Container Size and Material
Choose a container at least 12 inches deep for ginger rhizomes. Terracotta or plastic containers work well. Make sure they have holes for drainage to avoid waterlogging.
Drainage Solutions for Potted Ginger
To improve drainage, add small rocks or broken pottery at the bottom of the container. This prevents roots from rotting in too much water.
In-Ground Cultivation Methods
Planting ginger in the ground is simpler and needs less care than container gardening. But, it requires the right soil and enough space.
For in-ground cultivation, pick a spot with well-draining, rich soil and partial shade. Plant ginger rhizomes 2-4 inches deep, with the “eyes” up. Space them about 12 inches apart.
- Make sure the soil is loose and fertile for healthy ginger growth.
- Keep the area moist but not too wet.
The choice between container and in-ground growing depends on your garden and preferences. Both can produce healthy, flavorful ginger if done right.
Watering and Fertilizing Your Ginger Plants
To get the best from your ginger plants, knowing how to water and fertilize them is key. Doing these right can really help your plants grow well and produce a lot.
Optimal Watering Schedule and Techniques
Ginger plants like moist soil, especially when they’re growing new leaves. Water them well, making sure the soil is damp but not too wet.
Seasonal changes matter a lot. In the growing season, they need more water. But in the quiet season, they drink less.
Seasonal Watering Adjustments
In spring and summer, check the soil often. Water when the top inch feels dry. In fall and winter, water less to avoid root rot.
Signs of Over and Under-Watering
Look out for signs of too much water, like yellow leaves or soft stems. Too little water makes leaves turn brown and wilt. Adjust your watering to keep your plants happy.
Fertilizer Types and Application Methods
Fertilizing your ginger plants helps them grow and do well. You can pick from organic or chemical fertilizers, each with its own good points.
Organic Fertilizer Options
Organic fertilizers, like compost or manure, give nutrients slowly. They’re good for ginger plants because they’re natural and healthy for the soil.
Chemical Fertilizers and Their Use
Chemical fertilizers work fast but use them carefully to avoid harming the roots. Always follow the directions on the package for how much and when to apply.
By balancing watering and fertilizing, you can make a great place for your ginger plants to grow. This will lead to a big harvest.
Troubleshooting Common Ginger Growing Problems
Growing ginger can face several challenges. These include pests, diseases, and growth issues. Knowing how to tackle these problems is key to a successful harvest.
Identifying and Treating Pests
Ginger plants can get pests like aphids, spider mites, and root-knot nematodes. Look for signs of pests, such as yellow leaves. Use organic pest control like neem oil to protect beneficial insects.
Disease Prevention and Treatment
Diseases like bacterial wilt and fungal infections can harm ginger. Prevent disease by improving air flow and avoiding too much water. Remove sick plants quickly. Treat with fungicides or bactericides as needed.
Addressing Growth Issues
Ginger growth problems can stem from many causes. These include nutrient deficiencies, wrong watering, or poor soil.
Yellowing Leaves
Yellow leaves on ginger plants often mean too much water, lack of nutrients, or pests. Check your watering and soil nutrients. Look for pests too.
Stunted Growth
Stunted ginger growth can be due to not enough light, bad soil, or missing nutrients. Make sure your ginger gets enough light. Keep the soil fertile for healthy growth.
Harvesting Your Ginger: Timing and Techniques
Harvesting ginger at the right time is crucial for its taste and health benefits. The timing depends on how you plan to use it.
When to Harvest for Different Uses
Ginger is ready to harvest at different times for different uses. For cooking, it’s usually ready between 6 to 8 months after planting.
Baby Ginger vs. Mature Ginger
Baby ginger is tender and mild, great for Asian dishes. Mature ginger is stronger and harvested later.
Seasonal Harvesting Guidelines
In most areas, ginger is ready in late summer or early fall. Check your local climate and ginger variety for the best time.
Proper Harvesting Methods to Maximize Yield
To harvest ginger, use a fork to gently loosen the soil. Then, lift the rhizomes carefully without damaging them.
Tools and Equipment Needed
You’ll need a garden fork and a sharp knife. The fork loosens the soil, and the knife cuts the rhizomes from the stem.
Step-by-Step Harvesting Process
- Loosen the soil around the ginger plant with a fork.
- Carefully lift the rhizomes out of the ground.
- Cut the stem from the rhizomes using a sharp knife.
Here’s a summary of the harvesting process in a tabular format:
| Step | Action | Tools Needed |
|---|---|---|
| 1 | Loosen soil | Garden fork |
| 2 | Lift rhizomes | Garden fork |
| 3 | Cut stem | Sharp knife |
Storing and Preserving Your Ginger Harvest
Your ginger is ready to be harvested, and now it’s time to store it right. This way, you can enjoy it all year long. It’s important to store it well to keep its taste and health benefits.
Fresh Storage Methods
You have a few ways to keep your ginger fresh. The choice depends on what you need and what you have.
Refrigeration Techniques
Refrigeration is great for short-term storage. Wrap your ginger in a paper towel, put it in a plastic bag, and store it in the fridge. This keeps it fresh for weeks.
Room Temperature Storage
For using ginger in a week, store it at room temperature. Keep it away from sunlight and heat. This method is easy but doesn’t last as long as refrigeration.
Freezing, Drying, and Other Preservation Techniques
For longer storage, try freezing, drying, or making ginger powder. These ways let you enjoy your ginger all year.
Preparing Ginger for Freezing
To freeze ginger, peel and chop it. Spread it on a baking sheet and freeze. Then, put it in an airtight container or freezer bag.
Dehydration and Powder Making
Dry ginger with a dehydrator or a low oven. Once dry, grind it into powder in a spice grinder.
| Storage Method | Duration | Equipment Needed |
|---|---|---|
| Refrigeration | Several weeks | Refrigerator, plastic bag, paper towel |
| Room Temperature | Up to 1 week | None |
| Freezing | Several months | Freezer, baking sheet, airtight container |
| Drying/Powder Making | Up to 1 year | Dehydrator or oven, spice grinder |
Conclusion: Enjoying the Fruits of Your Ginger Gardening Journey
As you finish your ginger gardening journey, you’ll see many benefits. Growing ginger at home is good for your health and saves money. It’s a rewarding hobby.
You’ve learned how to grow and care for ginger plants. You can grow them in containers or in the ground. Harvesting your own ginger is very rewarding.
Keep enjoying your ginger gardening journey. You’ll find growing ginger is simple and rewarding. This article has given you the knowledge to enjoy growing ginger at home.
FAQ
What are the ideal climate conditions for growing ginger?
Ginger loves warm, humid places. It grows best in temperatures between 75°F to 85°F (24°C to 30°C).
How often should I water my ginger plants?
Keep ginger plants moist, especially when they’re growing. Water when the top inch of soil is dry. This is usually every 2-3 days, depending on the weather.
Can I grow ginger in containers?
Yes, you can grow ginger in containers. Pick a container that’s at least 12 inches deep. Make sure it has holes for drainage to avoid soggy soil.
How do I identify healthy ginger rhizomes for planting?
Look for firm ginger rhizomes without mold or rot. They should have at least one “eye” or bud, like a potato.
What is the best way to store harvested ginger?
Store fresh ginger in the fridge for weeks. You can also freeze it. Peel and chop the ginger, then put it in an airtight container or freezer bag.
How do I prevent pests and diseases in my ginger plants?
Keep your ginger plants healthy by ensuring good air flow and removing weeds. Use organic pest control when needed. Regularly check your plants for pests or diseases.
Can I use chemical fertilizers on my ginger plants?
Chemical fertilizers can be used, but organic fertilizers are better. They promote healthy soil and avoid chemical residues on your ginger.
When is the best time to harvest ginger?
Ginger is ready to harvest 6-8 months after planting. Look for yellow leaves and dying back. For milder flavor, harvest “baby ginger” in 3-4 months.
How do I dry ginger for preservation?
To dry ginger, slice it thinly and lay the slices on a baking sheet. Dry in a low oven (150°F – 200°F) or a food dehydrator until dry and brittle.