
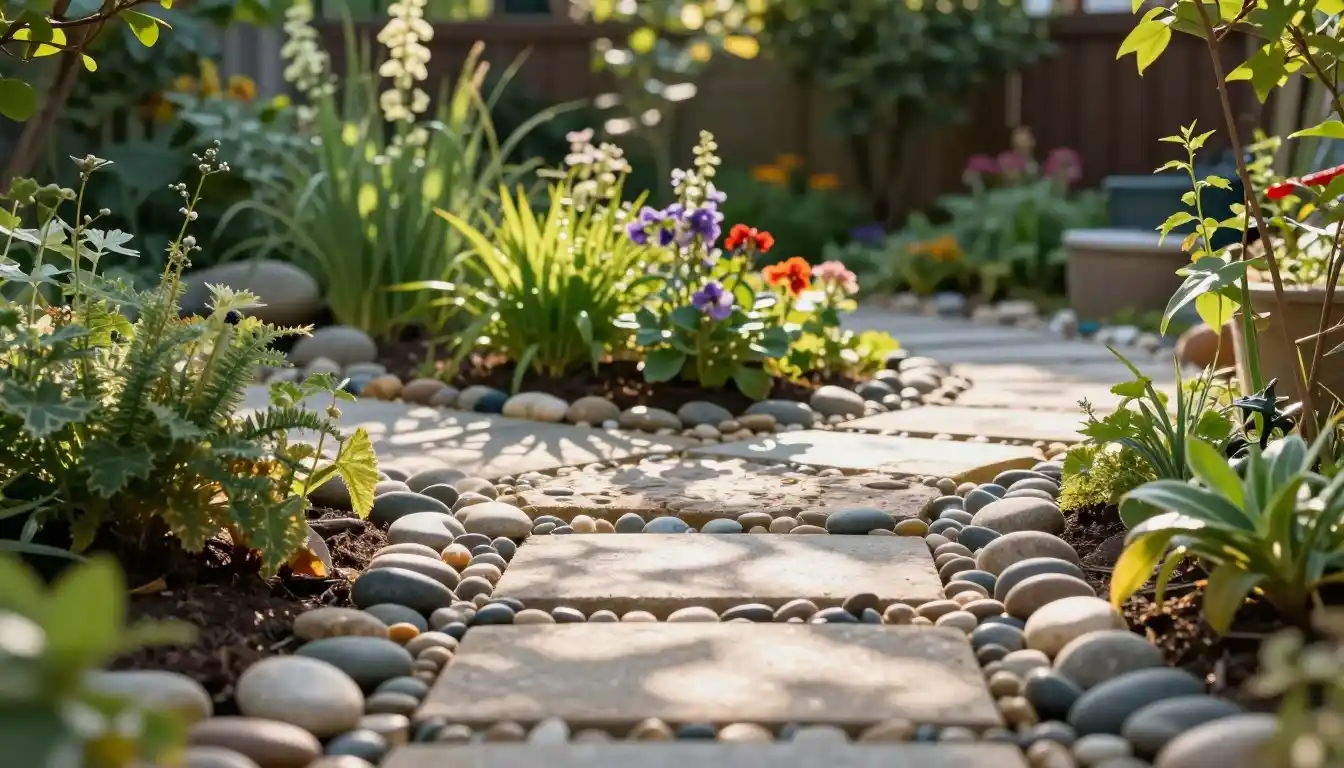
A narrow strip beside a path or a bare corner can become a deliberate feature with garden pebbles and a few well-chosen plants. Aggregate means loose stone used as a ground cover, path surface, or decorative material.
For your home, the right design depends on the job, the plants, and how people use the area. Pebbles add texture, mark spaces, and bring a natural look to a yard without covering every inch.
You can use them to frame pathways, set off planting beds, shape a water feature, or make a small patio feel greener. These 20 ideas offer options for different yard sizes and needs.
Some designs suit a busy route, while others work best as quiet details near a bench or doorway. Start by planning the layout before buying materials.
Key Takeaways
- Choose stone for the way you will use the area.
- Leave room for plants and clear edges.
- Use angular stone where walking comfort and stability matter.
- Prepare the ground to match the feature.
- Measure the area before buying stone.
How Do You Plan a Pebble Layout Before Buying?
Before choosing a stone color, mark the area where you want the feature and note what receives sun or shade. A good layout begins with the site, not a bag of rocks.
Check drainage, access, and future use, too. Choose plants for the conditions already there instead of forcing a design onto the site.
Plan around the light, drainage, access, and future use of the area. Let the site guide your plant choices.
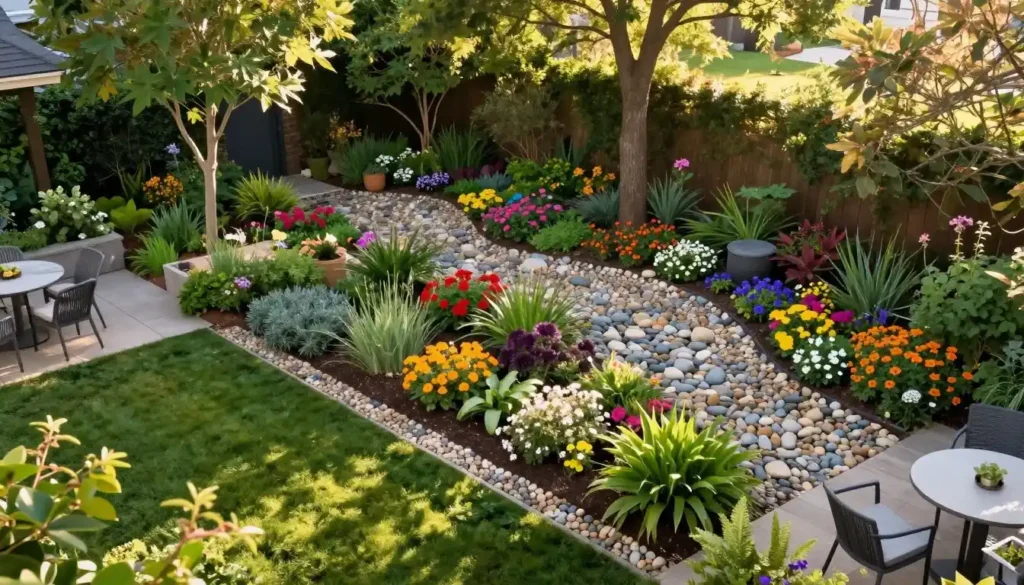
Match the site to the plants
Watch the area at different times of day before settling on plants. A sunny patch, damp corner, or dry slope each supports different choices.
Notice where water runs after rain and whether you can reach the feature with a wheelbarrow. Keep access open for trimming, seating, or moving bins.
A rock garden can add height and depth to a flat space, define a slope, or cover ground where little grows. These uses still need a plan for water and stable footing.
Set the scale and overall shape
Make a rough outline with a garden hose or flour, then view it from the house and path. The shape should sit comfortably beside the home and yard.
The 3-5-7 rule in landscaping is a visual rule of thumb: group three, five, or seven elements for an uneven, natural rhythm. It is not a rigid formula.
Large stones can anchor a design, yet boulders look out of place when they overpower a small house or yard. Decide their locations before moving them, since they are heavy.
Check local permit rules before major work, as requirements vary by municipality and project location. In the United States, call 811 before digging to locate underground utility lines.
Once the site and scale are clear, compare pebble sizes and shapes to the job.
Which Pebble Size and Shape Fits Each Job?
The best size is the one that fits how the surface will be used, not the label that sounds most decorative. Shape matters as much as size.
Garden pebbles generally range from 6mm to 60mm, while the job sets the useful size and depth. Stones below 6mm are grit; stones above 60mm are cobbles.
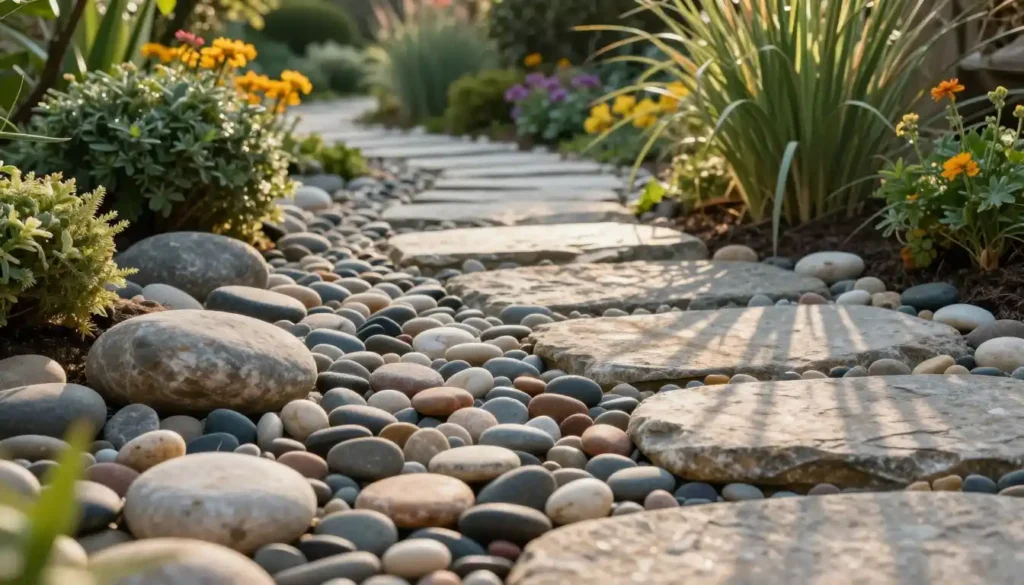
Many decorative pebbles fall between 10mm and 40mm, and 20mm is a common choice. The name on a bag does not tell you whether a stone suits your surface.
| Job | Typical size | Shape | Typical depth |
|---|---|---|---|
| Border or planting bed | 20mm | Rounded or angular | 50mm to 75mm |
| Frequently walked path | 6mm to 14mm, or up to 20mm for heavier use | Angular | 25mm to 40mm |
| Around stepping stones | 20mm | Rounded or angular | About 40mm, tamped |
| Dry stream or Japanese-style bed | 25mm to 40mm | Rounded | 50mm or more |
| Pot topping | 10mm to 20mm | Rounded or angular | 50mm to 70mm |
Rounded stones give a bed a softer look, while crushed angular stone, or gravel, locks together more firmly. That grip can help where feet pass often.
Loose stone underfoot should generally be no deeper than about twice its own size. A 20mm pebble layer around stepping stones is typically about 40mm deep and tamped.
Those limits help keep a route from feeling like deep, shifting sand. For a decorative border, 50mm to 75mm gives the stone enough depth to cover the soil.
With the material basics in hand, move on to ideas that give a front entrance a clear focal point.
How Can 20 Pebble Garden Landscaping Ideas! Work in Your Yard?
A front entrance often needs a defined edge more than it needs a whole yard covered in stone. Use pebbles to mark boundaries, fill spaces between stable features, and contrast with plants.
Keep stone as a frame around a front yard, not a cover for every surface. These first pebble landscape ideas make an entry feel planned without taking over.
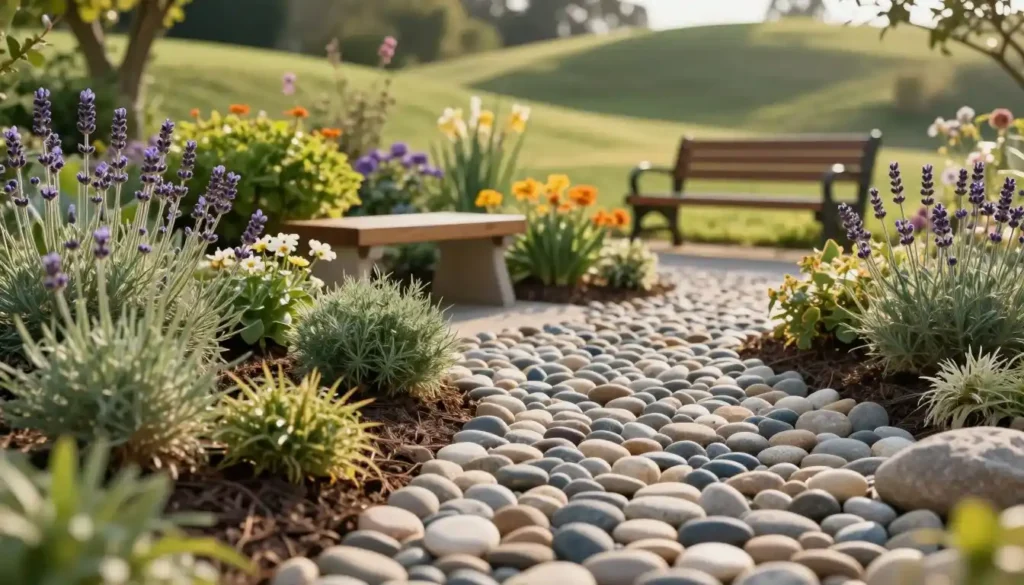
- A narrow pebble band can frame the entry walk and give its edge a clean line.
- Set a potted plant island into pebble ground cover for a small, contained focal point.
- Highlight a specimen shrub or small tree with low solar path lights nearby.
A narrow band can link the doorway to the path without spreading stone across the lawn. Pick a width that leaves the walk easy to use.
The potted island works where soil is poor or a planted bed would block access. A pot also lets you change the display with the season.
For the third idea, place lights to show the plant’s outline and keep the walking route visible. Solar lights need sun exposure to charge well.
Each design can make a front yard feel more welcoming while keeping green areas in view. Avoid stone that hides the plants or crowds the doorway.
The next three ideas use color, mulch, and edging to make planting beds look composed.
What Pebble Ideas Suit a Front Yard?
A small, defined pebble bed can make a front yard look cared for without turning it into a bare stone field. Use small areas to set off plants and shrubs.
Keep enough open soil or mulch around plants so the bed still reads as a garden. These three options add structure without hiding the planting.
- Create a monochrome pebble bed with a few architectural shrubs for a simple, calm look.
- Place organic mulch beside stone to create deliberate contrast in color and texture.
- Use a brick or cobblestone divider between pebble zones and turf.
In a shaded corner, pale pebbles can brighten the view and help define the bed. Bright white stone may look stark in full sun.
White stone also shows dirt and leaf debris readily, so it can look untidy between cleanups. A softer, natural tone may blend better with nearby soil and plants.
For the mulch contrast, keep each material in a clear zone instead of mixing them randomly. The division can make a small bed feel intentional.
A brick or cobblestone divider provides a visible edge where grass meets loose stone. It can also make the boundary easier to maintain.
For a route through the yard, the next ideas pair loose stone with stable walking surfaces.
How Can Pebbles Make Walkways More Inviting?
If people need to walk comfortably, let flat stones or a firm angular surface carry their weight. Walkway pebbles can fill spaces around stable slabs.
Rounded pebbles roll and migrate underfoot, while angular gravel locks together more firmly. A thin loose-stone layer is steadier than a deep one.
- Make a winding path with flat stepping stones and pebbles between them.
- Set pavers in a geometric pattern with contrasting pebble joints.
- Frame a pebble path with a cobblestone edge to keep stone contained.
| Surface | Underfoot stability | Best use | Main trade-off |
|---|---|---|---|
| Rounded pebbles | Softer feel | Decorative, low-traffic areas | Stones roll and migrate |
| Angular gravel | More stable | Paths with regular foot traffic | Less rounded in appearance |
| Stepping stones with pebbles between | Stable footing on slabs | Garden routes | Slabs need their own firm setting |
For a loose path, choose angular gravel and keep its layer thin. A 20mm stone is less likely than smaller stone to lodge in shoe treads near a front door.
That larger stone can reduce carry-in, though it will not stop every bit of grit. A mat inside the entry helps catch what shoes bring home.
A hand-laid pebble mosaic takes more work than a loose path. It needs a prepared foundation, a mortar bed, hand placement, and slow curing.
A panel about the size of a doormat can take a weekend. Use a mosaic as a small landing or accent, not as a long walkway.
The same mix of rocks and planting can turn a difficult corner into a compact rock garden.
Which Rock Garden Ideas Bring Plants and Stones Together?
A rock garden feels planted rather than bare when the stones leave room for low-growing foliage. Open gaps let plants soften the hard lines.
Alpine plants often suit lean, sharply drained soil, while ordinary garden soil may need a different planting plan.
- Build a small succulent and alpine rockery with varied stone sizes.
- Set a focal boulder among low evergreen ground cover.
- Plant a retaining-wall garden with creeping plants and a few containers.
A rock garden can make a slope useful or bring interest to a place where little grows. Choose a scale that fits the corner, not a row of oversized rocks.
For the alpine rockery, use lean, free-draining soil. Succulents and alpine plants may struggle in rich, wet soil that suits many border plants.
That differs from pebbles used as surface mulch over ordinary garden soil. The stone may look similar, yet the soil beneath serves different plants.
Low evergreen ground cover around a boulder softens its edges and keeps the feature from looking like a lone stone. Leave room for each plant to spread.
A retaining wall can create planting pockets on a slope. Creeping plants spill over the edge, while containers offer spots for plants that need separate soil.
These ideas combine plants and rocks without filling every gap. If you want sound or a calmer focal point, carry the same natural materials into a water or Zen feature.
How Can Water and Zen Features Use Pebbles?
A shallow dry creek can suggest the movement of water even when the bed stays dry. Curved lines help the stone feature feel like a stream.
Keep water and Zen features simple enough for their shapes and stone to stand out. Three designs can create a calm focal point.
- Shape a dry creek bed to suggest a stream without running water.
- Place rounded pebbles around a fountain or pond edge, setting larger stones by hand.
- Create a Japanese-inspired dry garden with raked gravel and a few set stones.
A dry creek can cross a low area as a visual feature. Its shape should suit the yard rather than look like a straight strip of rock.
Wet stones show their colors more strongly than dry ones. If you are choosing among samples, wet a few to see how their tones change.
A pond or fountain edge may be hard to rake clean. Line that feature before adding stone, so you can keep debris from mixing into the soil.
For a Zen garden, use a restrained arrangement with a few carefully placed stones. Too many ornaments can compete with the raked gravel.
Leave enough access to reach the water feature and remove debris. Wet surfaces may also be slippery, so keep the walking edge clear.
For a compact yard, the next ideas bring pebble features close to seating and containers.
What Pebble Features Fit a Small Patio or Courtyard?
A small patio can feel like a garden when one or two planted features soften its hard edges. Clear zones help a tight space feel planned.
Keep the seating base stable and follow the fire pit’s instructions for safe surfaces and clearances.
- Make a pebble seating nook with a stable bench base; add a fire-pit area only where its instructions allow noncombustible surfacing and clearances.
- Arrange courtyard containers as planted islands in pebble ground cover.
- Build a gabion bench or low feature and fill its cage with stone.
A bench needs a firm base, so do not set its legs on deep loose pebbles. A flat pad gives you steadier seating.
For pot topping, use a layer about 5cm to 7cm deep. It can limit vine weevils from laying eggs on compost and reduce evaporation.
There is a trade-off: the stone hides the compost surface, making moisture harder to judge. Push pebbles aside before checking whether the compost needs water.
Some stone may be alkaline, so wash it before using it around a pot. Washing also removes loose dust and grit.
A gabion feature brings texture into a tight courtyard without needing a wide bed. Check that its base is steady before using it as a seat.
Pebbles can also tidy less-used areas where grass or planting is difficult.
Where Can Pebbles Fix Awkward Garden Areas?
A steep or shaded patch can be easier to manage when you plan for its limits instead of forcing it to become lawn. Practical ground cover can help.
Yard pebbles are a surface treatment, not a stand-alone slope solution. The material and construction depend on the site’s drainage and grade.
Idea 19 is a slope planted with ground covers and larger anchoring stones. The plants can fill gaps, while the rocks give the layout clear points of focus.
Loose rounded stone is not a suitable slope surface because it can roll. Do not count on loose stone alone to hold soil in place.
Choose the right material and construction for the site’s drainage and grade. A steeper slope or flowing water may need a different plan than a gentle bank.
Idea 20 is a clean pebble strip beneath a deck or beside a foundation where planting is impractical. It can cover bare ground and make the edge easier to view.
Check how water moves around the home before covering soil beside a foundation. The strip should not block drainage or direct water toward the building.
Rocks can define a slope, replace lawn in a difficult patch, or cover ground where little grows. Next, choose plants that suit the light and soil beneath the stone.
Which Plants Grow Well Around Pebbles?
Start with the light and moisture your site already has, then select plants that suit those conditions. Site fit matters more than a plant’s look in a photo.
Rockery plants often need different soil from plants in an ordinary border covered with pebbles. Match the planting to the soil below.
| Site | Suitable plant examples | Soil or moisture preference | Garden role |
|---|---|---|---|
| Sunny and dry | Sedums or creeping thyme | Sharply drained soil | Low ground cover |
| Sunny and dry | Dianthus or small ornamental grasses | Well-drained soil | Flowers or vertical texture |
| Shade and moisture | Ferns or hostas | Richer soil and more moisture | Foliage contrast |
| Shade | Hellebores or coral bells | Site-appropriate soil | Seasonal and foliage interest |
Sunny, dry beds can suit sedums and creeping thyme when the soil drains sharply. Dianthus and small ornamental grasses also suit many well-drained sites.
In shady, moist spots, ferns and hostas offer leafy contrast. Hellebores and coral bells can add seasonal or lasting foliage interest in suitable soil.
Keep an eye on the space each plant needs as it grows. A small plant can disappear under nearby shrubs if you pack the bed too tightly.
Evergreen shrubs or dwarf conifers can give a garden structure through the year. Use a few where their size fits the space.
Choose ground cover for the conditions and leave space around larger plants. Once plants and features are chosen, prepare the ground so soil and stone stay manageable.
What Goes Under Pebbles Before You Lay Them?
The layer under the stone should match the job, especially whether anyone will walk on it. Separate roles make a surface easier to plan.
Decorative borders can use firmed soil and permeable landscape fabric, while walked routes need a compacted base beneath the fabric.
Use landscape fabric for separation, not as a cure-all
Landscape fabric separates loose stone from soil, but it does not stop windblown seeds from landing above it. Those seeds can still sprout in dust and debris.
Grass can also spread in from a lawn edge. A firm side barrier helps block that creep and keeps loose stone from drifting into turf.
For a decorative bed, firm the soil and use permeable fabric if you want a clear barrier between earth and stone. Fabric does not remove the need for weeding.
Add a compacted base where people will walk
A route that gets regular foot traffic needs a compacted base under the fabric. That firm layer supports the surface more reliably than fabric laid over loose soil.
A thin sand layer, about 2.5cm deep, may protect fabric from sharp stone. This thin layer is sometimes called a blinding layer.
Sand beneath rounded pebbles in a planting border does not add a useful base. The border needs separation, while a path needs a firm layer to support feet.
Choose barriers where lawn meets stone, especially on edges that are hard to trim. With the ground prepared for its use, follow a clean installation order.
How Do You Install Pebbles in the Right Order?
Lay out the largest features before opening bags of decorative stone. Working in order keeps soil from mixing into the finished surface.
Place large rocks and boulders first, then set edging and plants before spreading the final pebble layer.
| Stage | Action | Order | Why it matters |
|---|---|---|---|
| Clear and shape the area | Remove unwanted growth and firm the soil | First | Gives a stable start |
| Base and fabric | Add a compacted base where people walk, then permeable fabric | Before features and stone | Separates soil from the surface |
| Major features and edges | Place boulders and set hard edging | Before planting | Fixes the layout and contains loose stone |
| Plants and pebble finish | Plant first, then spread and level stone | Final stage | Avoids digging through finished stone |
Start by clearing unwanted growth and shaping the area. Firm the soil so the surface has a stable start before adding other layers.
Where people will walk, add the compacted base before permeable fabric. A decorative bed may not need that supporting layer.
Set large rocks and boulders, then place hard edging to contain loose stone. This is the time to adjust the outline, before plants fill the gaps.
Plant before spreading the last layer of pebbles. That way, you do not need to dig through the finished surface to set plants.
A border typically needs 50mm to 75mm of stone. On walked surfaces, keep loose stone to about twice its own size in depth.
Level the final surface without burying plant stems or covering the edges. A correctly installed surface still needs occasional attention to stay tidy.
What Maintenance Do Pebble Beds Need?
Pebbles can reduce routine mulching, but windblown seeds still settle in an open stone surface. Some upkeep remains part of the job.
Check for weeds, debris, and dry plants during the growing season, even when landscape fabric lies below.
Keep weeds and loose debris under control
Pull weeds while they are small, before their roots spread through soil and debris. Fabric will not stop seeds that land on top of the pebbles.
Remove fallen leaves and other loose debris before they settle into the stone. A spring and autumn rake helps clear and refresh the surface.
Rake gently around plant stems and hard edges. Deep or rough raking can disturb the fabric or move stones into the bed.
Check plants through the growing season
Check soil moisture during hot spells and water plants according to their needs. Rocks absorb heat, so nearby plants may dry faster in sunny weather.
Prune dead growth and remove spent flowers when needed. A quick look at each plant helps you notice stress before leaves fade or stems droop.
Do not treat every pebble bed the same way. A sunny border, shaded corner, and damp spot can need different care as weather changes.
Regular care is easier when the rocks and plants were arranged with enough room from the start.
How Should You Arrange Rocks for a Natural Look?
A natural-looking rock feature usually starts with a few anchor stones rather than a pile of small rocks. Start with shape and weight.
Group rocks irregularly, leave gaps for plants, and avoid neat rows. A few well-placed larger rocks can anchor the whole composition.
Place a sample arrangement before setting heavy rocks permanently. View it from the house, path, and seating area to see whether its balance holds.
Add smaller companion stones around the anchors, changing their shape and size. A matched set of identical rocks can look too planned.
Uneven groups usually feel more natural than rocks set in a straight line. Leave open gaps between stones for plants or bare soil.
A restrained palette of complementary colors and shapes keeps the design from looking busy. One strong contrast can draw the eye without making every stone compete.
Use the ground’s slope and nearby plants as visual guides. Rocks should seem settled into the garden, not placed on top like loose decorations.
Once the design feels right, compare material sources and total project needs before buying.
How Can You Find Affordable Garden Pebbles?
The cheapest-looking bag is not necessarily the lowest-cost choice once you calculate how many bags the bed needs. Compare coverage, not just labels.
Cost depends on stone type, size, amount, delivery, and site preparation. Measure the area and allow for the depth you plan to use.
Compare stone by the area each bag covers at your chosen depth. The lowest bag price may not mean the lowest project cost.
Compare local garden centers, home-improvement stores, and landscape suppliers. Reclaimed or locally available rock may suit the project, too.
If you see pebbles on sale, compare their coverage and required depth rather than bag price alone. A low price can still mean more bags.
For one example, a 20kg bag of 20mm pebbles covers a little less than 0.2 square meters at a 7.5cm depth.
A 2m by 1m bed at that depth takes about eleven 20kg bags. That estimate helps you compare bag sizes and delivery needs.
Measure the bed’s length and width, then calculate its area and chosen depth before ordering. Include any extra space that curves or widens around plants.
Delivery and preparation can shape the full cost as much as the stone itself. A distant supplier may add transport, while an uneven site may need more work.
Compare like with like: stone size, amount, coverage, and whether delivery is included. Then decide whether one measured purchase covers the whole feature.
Make one measured purchase decision, and carry out the design in stages if needed.
Conclusion
The most dependable pebble garden starts with one well-planned area, not a yard covered in stone. Match the stone’s shape and depth to its use, and leave room for plants and edges.
A small test area can show how the stone looks beside your home and how it feels underfoot. That step can guide later choices without committing the whole yard.
Measure a small section of the yard and sketch where the pebbles, plants, and hard edges will go.
FAQ
Which stone is best for landscaping?
The best stone depends on how you will use it: rounded pebbles suit decorative beds, angular gravel offers steadier paths, and larger stones make focal features. Rounded shapes look softer, while angular pieces tend to lock together. Think about foot traffic, drainage, and nearby plants before choosing. A small sample can help you judge its color beside the home.
What are some ideas for a small rock garden in my front yard?
A compact pebble band, one anchor stone, and a few low plants can make a small front yard rock garden feel complete. Choose plants that suit the site’s light and soil, then leave open gaps around them. Keep the stone feature to one area instead of covering the whole yard. A simple outline helps the design fit beside a walk or entry.
What rock looks best for landscaping?
There is no single rock that looks best in every yard. Choose colors and shapes that suit the home, the planting, and the sunlight. Pale stone can brighten shade, while bright white may look stark in full sun. Light stones can also show dirt and leaf debris more readily. Compare a sample outdoors before you settle on a large amount.
What is the most affordable rock for landscaping?
The most affordable rock depends on local supply, stone type, quantity, delivery, and site preparation. Compare cost by measured coverage at the depth your project needs, rather than by bag price alone. A low-cost bag may cover less area or require more trips. Measure the bed first, then compare the amount and delivery cost for each option.
What do you put down before rocks for landscaping?
For many decorative beds, firmed soil and permeable landscape fabric help separate soil from stone. A walked surface needs a compacted base beneath the fabric for firmer support. Grass may still creep in from lawn edges, so a side barrier can help. Choose the layers for the job, since a planting bed and a path have different needs.
Is it necessary to put landscape fabric under rocks?
No, landscape fabric is not necessary for every stone feature, but it can separate soil from loose stone. It will not stop windblown seeds from landing above it, so weeds can still grow. Consider how much separation and upkeep the site needs. A walked path also needs a compacted base, which fabric alone cannot provide.
How to arrange rocks in landscaping?
Start with a few large anchor stones, then group smaller rocks around them in irregular patterns. Vary the shapes and sizes, leave gaps for plants, and avoid tidy rows. A restrained mix of colors helps the design feel calm. Try a sample arrangement before setting heavy rocks permanently, and view it from the main places where you spend time.