
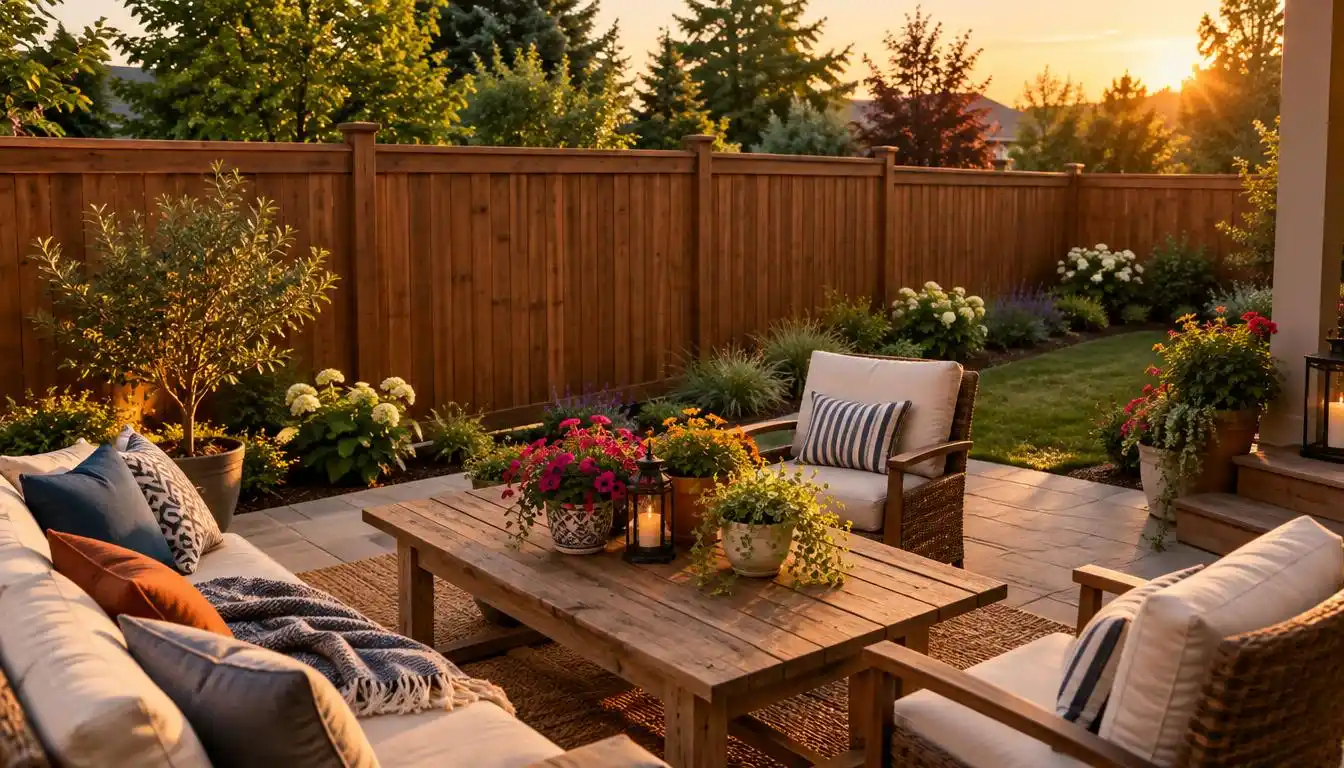
A diy privacy fence can help when nearby homes make your backyard feel exposed. A well-planned barrier adds privacy and helps define a patio or outdoor gathering space, giving you a more comfortable place to spend time.
The project moves from planning and materials to posts, rails, pickets, a gate, and the finish. Plumb means vertical alignment checked on two adjacent sides of a post. Straight posts and careful board placement keep the fence face even. Check your boundaries and local requirements before buying materials or digging.
Key Takeaways
- Confirm the property line, permits, height limits, and HOA rules first.
- Choose a board pattern and wood that suit your yard and upkeep plans.
- Set each post plumb and brace it while the concrete footing cures.
- Use steady spacing for rails and pickets, then check the gate swing.
- Protect the wood with a suitable finish and check it over time.
Plan Your DIY Privacy Fence
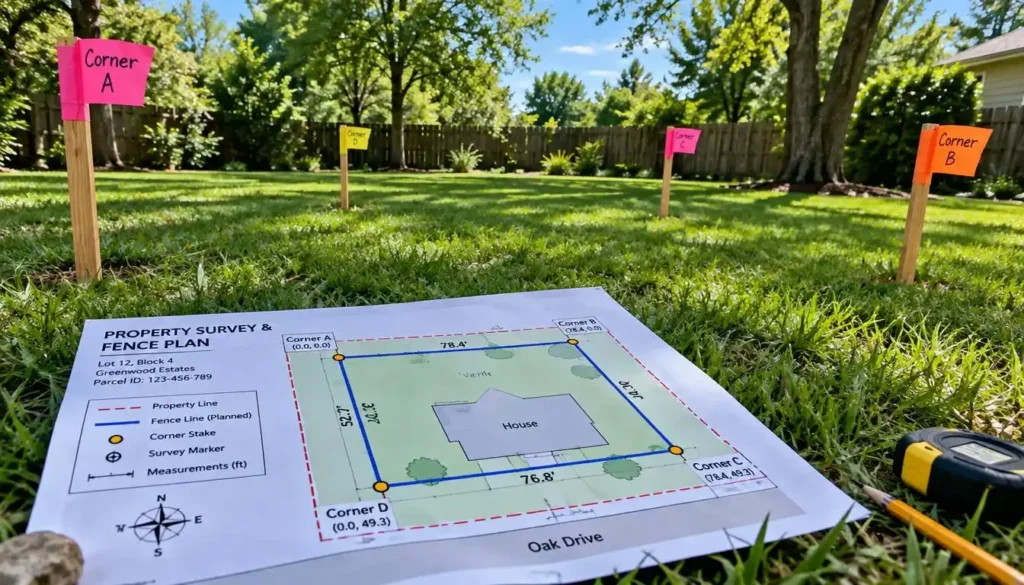
Before you mark a route, confirm that the planned fence line is actually on your property. A verified boundary helps you avoid moving a finished fence or creating a dispute with neighbors.
Check a property survey or have the boundary verified if its location is unclear. Do not rely on old markers or a neighbor’s fence to establish your property line. Those clues may not show the legal boundary.
Confirm the property line before setting the fence line. Old markers and a neighbor’s fence may not show where your property ends.
Verify Property Lines, Permits, and Local Rules
Permit rules and allowed fence height, style, and setbacks vary by municipality. Homeowners associations may set added limits on the fence’s look, materials, or placement.
Ask your local building office which rules apply to your address and planned design. Check permit needs, height limits, setbacks from streets or walkways, and HOA requirements before work begins.
Think about sightlines from windows and patios, plus access to gates and utility areas. Plan how the fence will meet a house, shed, or existing barrier without blocking doors or drainage.
Build a Privacy Fence Between Neighbors
How to build a privacy fence between neighbors starts with settling the boundary and discussing placement. Talk through the finished sides, height, access, and who will handle upkeep before construction.
Agreement can prevent friction, especially when both yards face the fence. A fence built for outdoor use can make patios and backyards feel more private, but the DIY privacy fence for outdoor use still needs to meet local rules.
Mark a proposed route only after you understand the boundary and restrictions. Once the route and constraints are clear, choose a design and wood that fit the yard.
Choose a Wood Fence Design and Materials
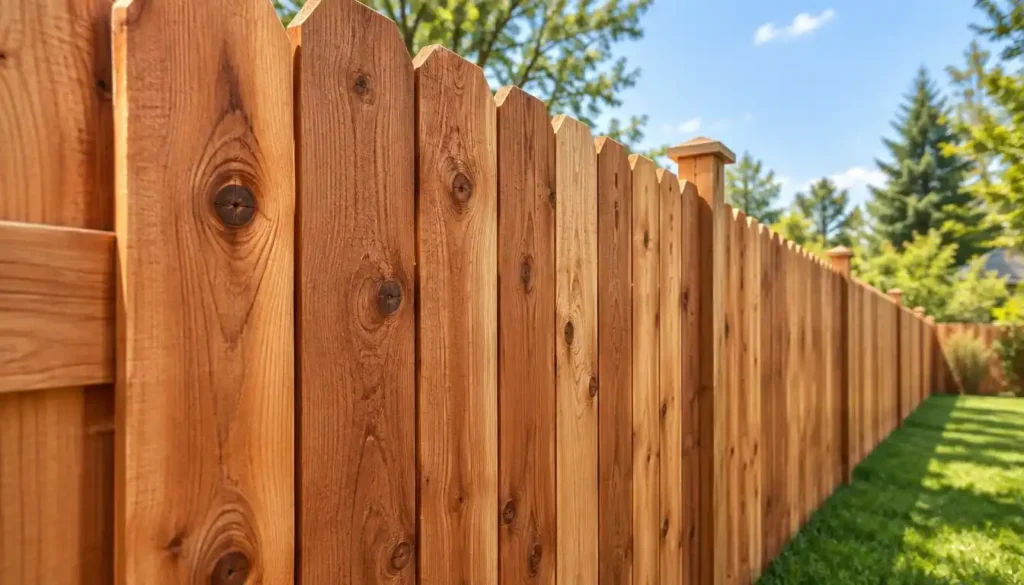
A vertical picket fence is a straightforward choice, while overlapping boards can block more angled views. The right wood fence design depends on how much privacy you want and how much upkeep suits you.
Board-on-board construction covers gaps by overlapping picket edges, but it uses more lumber and work. Side-by-side boards can leave gaps that become more visible as wood changes with weather.
Compare Privacy Fence Styles
Compare the main layouts before settling on a style. Each changes the fence face, the amount of view it blocks, and the number of boards you need.
| Design | Board orientation | Privacy coverage | Trade-off |
|---|---|---|---|
| Vertical pickets with small gaps | Vertical | High, with narrow sightlines | Weather changes can make gaps more visible |
| Horizontal boards | Horizontal | Varies with board spacing | Needs careful layout to keep lines even |
| Board-on-board | Vertical, overlapping | High, including angled views | Uses more lumber and takes more work |
Choose Wood and Exterior Fasteners
Cedar naturally resists rot and insects better than many wood species. It still needs care, and its price and grade can vary. Pressure-treated lumber is commonly used for durability and resistance to decay, but it also needs suitable upkeep.
Lumber cost changes with species, grade, dimensions, and availability. For DIY privacy fence wood, choose ground-contact-rated posts for the buried supports. Use exterior-rated screws or nails suited to the wood; unsuitable fasteners can stain cedar.
Fasteners also need to fit the board thickness and rail design. Read the product details so the screws or nails can hold the boards without splitting them. With the design selected, assemble a tool list and estimate quantities before you shop.
Gather Tools and Estimate the Build
A complete list prevents a mid-project trip for a box of outdoor screws or a gate latch. Separate your materials from tools, then check what you already own.
Estimate posts from your chosen spacing, rails from the number of runs, and pickets from their face width plus the planned gap. Leave room in your count for corners, ends, and the gate opening.
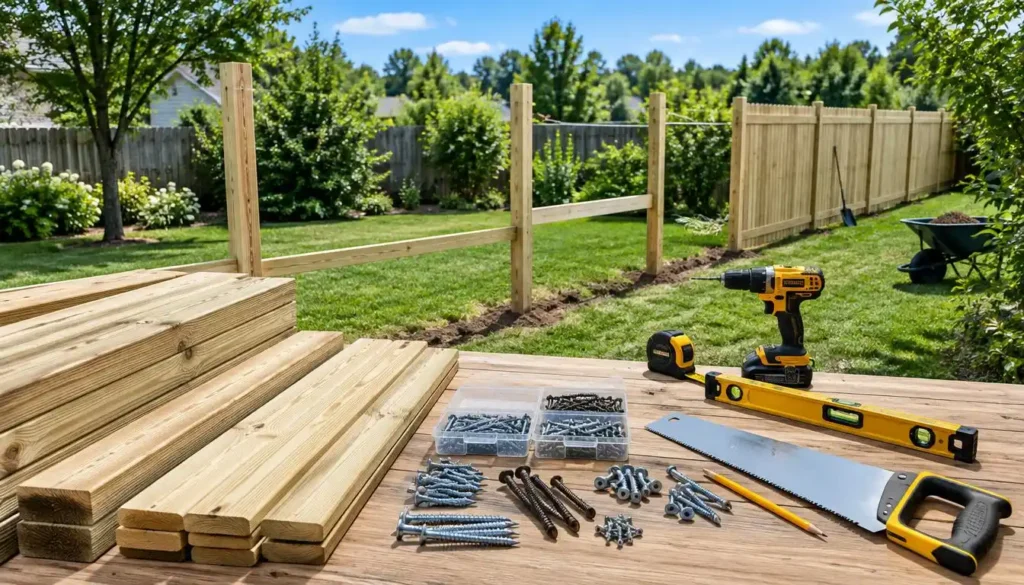
- Materials: posts, rails, pickets or panels, concrete, exterior-rated screws or nails, gate hardware, and optional stain.
- Tools: tape measure, stakes and string, level, shovel or post-hole digger, saw, drill or impact driver, and safety gear.
- Check a DIY privacy fence kit for included parts and confirm they suit your site.
- Sound reclaimed boards may lower material spending for a DIY privacy fence on the cheap, but only if they suit outdoor use.
A kit may leave out tools, concrete, fasteners, or hardware. Check each item against your plan, since a kit’s name does not guarantee that every part fits your yard or fence design.
Reclaimed boards need a close look for rot, cracks, old fastener holes, and coatings you cannot safely use outdoors. Reject boards that feel weak or show decay near the ends.
| Tool | Main task | Best fit |
|---|---|---|
| Manual post-hole digger | Lift soil from a narrow hole | A few holes in workable soil |
| Manual auger | Twist and loosen soil | Several holes without powered equipment |
| Powered auger | Drill holes with a motor | Many holes or firm soil, with safe handling |
Project cost depends on fence length and height, lumber species and grade, design, terrain, gates, removal and disposal, and tool rentals. Build your estimate from the actual layout, not a kit price alone.
Check tool instructions and wear safety gear while cutting or drilling. After checking the inventory, lay out the run and mark each post location.
Mark the Fence Line and Dig Post Holes
A taut string between the end points gives you a reliable guide for keeping the run straight. A clear line also helps you spot bends before digging begins.
Fence posts are commonly spaced about 6 to 8 feet apart, depending on the fence design and materials. Panel size and board layout may call for a different spacing, while corner, end, and gate posts may need more support.
Mark Spacing Along the Fence Line
Mark the full fence line and gate openings before you dig holes. Use these steps to keep the marks easy to follow:
- Mark each corner, end point, and gate opening.
- Stretch a taut string line between the end points.
- Measure and mark consistent post locations along the line.
- Contact 811 before digging to learn where underground utilities lie.
- Dig each hole and clear loose soil from its base.
Measure from the same point on each mark so small errors do not build across the run. If the fence includes prebuilt panels, match the post marks to their stated width.
Dig Holes to Suit the Posts and Soil
A common rule of thumb is post holes about 6 to 8 inches in diameter and roughly 30 inches deep. Another general rule is to bury about one-third of a post’s total length.
Those figures are starting points, not one depth for every yard. Adjust for post length, soil, and local frost depth. Check local ground conditions because loose, rocky, or wet soil can affect the hole and support needs.
Keep the holes centered on the marks and clear loose soil from each base. A post hole that shifts off the string line can leave the finished fence crooked, even when the other marks are accurate.
Use a shovel or post-hole digger that suits the ground and your planned hole size. With every hole in position and clear of loose soil, prepare to set the posts plumb.
Set Fence Posts in Concrete
A post that leans now will throw off every rail and picket attached to it later. Check plumb on two adjacent sides before the concrete starts to hold the post.
Brace each post and recheck its alignment as you add concrete. The mix and conditions determine how long it needs before framing, so follow the bag directions.
Brace Each Post Plumb
Set a post in its hole and place a level against one side. Adjust until the post stands vertical, then check an adjacent side rather than trusting one reading.
Attach temporary braces so the post stays in place. Recheck the level after you brace it, since a brace can pull the post off line. Repeat the same check for each post.
A few inches of gravel or small rocks at the bottom of a post hole can help drainage. Keep the post’s position centered as you add the support material.
Add Concrete and Shed Water
Mix or place concrete as the bag directs. Add it around the post in stages, checking plumb as the hole fills. Keep the post braced while the concrete footing begins to set.
Shape the top of the concrete to slope away from the post. That small slope helps water drain instead of pooling at the wood base.
A concrete footing is the underground post support made with a cement-based mix. A DIY privacy fence no-dig system uses another support method, and generally suits lightweight or temporary screens better than a conventional tall, solid wood fence.
Check the product instructions and local rules before choosing a no-dig support system. Concrete may need 24 to 48 hours before framing, but the mix directions and conditions set the right wait. Keep the braces in place for the mix’s specified wait before framing the fence.
Install Rails and Pickets
The first rail and first picket set the visual line for the rest of the fence. Use them as alignment guides for the boards that follow.
A typical six-foot wood privacy fence uses three horizontal rails. A center rail can support pickets on a taller fence, while a level check helps keep the rows straight.
Attach Straight, Supported Rails
Mark rail positions on each post, keeping the top, middle, and bottom runs aligned. Hold a rail in place and check it with a level before fastening.
Attach rails with exterior-rated screws or brackets that suit the wood and design. Recheck that each rail is level as you work. A rail that slopes can make the picket tops appear uneven.
Set the top and bottom rails to support the boards without leaving them loose. For a taller fence, the center rail gives the pickets another firm point of support.
Keep Pickets Aligned and Even
Set the first picket straight and use it as your reference. Check its vertical alignment, then attach it securely to the rails before adding more boards.
For a design with gaps, use a spacer to repeat the chosen gap between pickets. Check the level every few boards, since small shifts can show across a long run.
A solid board-on-board design uses overlapping pickets to cover the gaps. Overlap each board edge in a steady pattern, and allow for the extra lumber and fastening work.
Keep pickets about 2 inches above the soil to reduce contact with ground moisture. This gap also helps keep the board ends from sitting in wet soil after rain.
DIY privacy fence panels can speed installation, but panel dimensions and post spacing must match. Check the panel width against the framed bays before lifting it into place.
Use care when handling long boards or heavy panels, and ask for help if you cannot support them safely. Once the fence face is straight and secure, fit the gate to its opening.
Build and Hang the Gate
A gate needs a little more planning than an ordinary fence bay because it moves every time you use it. Measure the opening and allow hinge and latch clearance before building.
Gate posts carry the gate’s weight and repeated movement, so they need secure support. A gate that fits too tightly can bind as it swings.
Assemble a Square, Braced Gate
Measure the opening from post to post and account for the space needed at the hinges and latch. Use those measurements to set the gate’s finished width and height.
Build a square frame with a diagonal anti-sag support, or use a gate hardware kit made for the gate size. Attach boards to the frame in a pattern that matches the fence.
Check the frame’s corners before fastening everything. A square frame helps the gate stay aligned, while a diagonal support helps resist sag as the gate moves.
Hang the Gate and Test Its Swing
Attach hinges to the gate and gate posts, following the hardware instructions. Support the gate at its intended height while you fasten it, then check the gap around the frame.
Test the fit in this order:
- Support the gate at its intended height.
- Check that the gaps around the frame look even.
- Swing the gate through its full travel.
- Install and test the latch from the intended sides.
- Adjust the hinges or clearance if the gate binds.
Make sure the latch lines up with its catch when the gate closes. Test the swing more than once, since a gate can move slightly as you tighten its hardware.
Ask a helper to steady a heavy gate while you fit the hinges. After the gate swings and latches cleanly, protect the wood and plan its upkeep.
Stain and Maintain the Finished Fence
A new fence lasts longer when its finish and the wood’s contact with moisture are considered together. Choose an exterior finish made for the wood and follow its label closely.
Apply stain or sealant every few years as a general rule of thumb, adjusting the timing for product directions, weather exposure, and the fence’s condition. Some areas may need attention sooner than sheltered sections.
Use the finish label and the fence’s condition to guide upkeep. A few years is a general rule, not a fixed schedule for every yard.
Follow the product label for surface preparation, weather, drying time, and number of coats. Do not apply stain or sealant outside the conditions listed for that product.
Staining loose boards before installation can make it easier to cover edges and ends. If you finish boards in place, give each face and exposed edge the coverage the label calls for.
Cedar resists rot and insects better than many woods, but it can still weather or hold moisture. Keep the fence base clear so leaves and dirt do not trap water against the wood.
Check the fence from time to time for loose screws, cracked pickets, rot near the ground, and debris at the base. Look closely where posts meet soil, since that area stays in contact with moisture.
Clean gently to avoid damaging the wood or finish. Repair a loose fastener or damaged board promptly, before the problem spreads to nearby parts.
Check the fence after its first period of weather exposure, then maintain it as needed based on its condition and finish directions.
Conclusion
A confident build starts with accurate measurements and posts that stay straight. Careful layout and well-supported, plumb posts make the rest of the project easier.
Follow local rules and the instructions for concrete, fasteners, and finish products. Before buying materials, confirm the property line and measure the first fence run.
Write down that run’s length and mark its end points. That measurement gives you a clear next action before digging.
FAQ
What is the cheapest way to make a privacy fence?
Pressure-treated lumber and sound reclaimed boards can reduce material spending. Compare the full cost, including posts, fasteners, concrete, and any tool rental, rather than looking only at board prices. Reclaimed wood must be sound and fit for outdoor use. Boards with rot, cracks, or weak ends can cost more in repairs and replacement.
Is it cheaper to build your own privacy fence?
Building your own fence can save the installation labor cost, but the final savings depend on the full project. Tools, rentals, disposal, and mistakes can shrink the difference. You also need time to plan, dig, set posts, and build the gate. Compare material and equipment costs with a local installation quote before deciding.
How to block neighbor’s view of the backyard?
A taller solid or overlapping-board fence can block more sightlines than pickets with gaps. First confirm the property boundary and check local height rules, since allowed fence height and setbacks vary by municipality. Think about the view from windows and patios, not just the fence line. Board-on-board construction can cover gaps at angled views, though it uses more lumber.
Can I put up a privacy fence myself?
Yes, you can build a privacy fence yourself if you can safely handle long boards, dig and set posts, and follow local requirements. A helper makes heavy panels, long rails, and gate work easier to manage. Plan for lifting and bracing before you start. If the ground, slope, or layout is difficult, extra help can prevent alignment problems.
What type of fence is easiest to install by myself?
Preassembled panels can be quicker to install on a flat, clear run, but their size can make them bulky to lift and hold. Individual pickets take longer to fasten, yet they allow more adjustment around uneven ground and posts. Match panel dimensions to the post spacing before buying. A second person can make either option safer.
How much does 200 ft of fencing cost?
One board-on-board cedar project of about 200 linear feet, including two gates, cost just under $6,700, or about $33.50 per linear foot. Lumber prices and project details change the total. The design, wood grade, terrain, gate size, and removal work can all affect your own cost. Use that example as one project, not a standard price.
Can I write off a fence on my taxes?
A fence for personal use is generally not an immediate tax deduction. Rental or business use can differ, depending on how the property and fence serve that activity. Tax rules can depend on your situation, so ask a tax professional about your use of the fence. Keep project records and receipts if you may need them later.
How much does Lowes charge to put up a fence?
There is no single price for Lowes fence installation without a current local quote. The total depends on fence length, materials, site conditions, gates, and the work included. A flat yard with a short run may cost less than a sloped site with removal or several gates. Request a quote based on your actual layout and chosen materials.