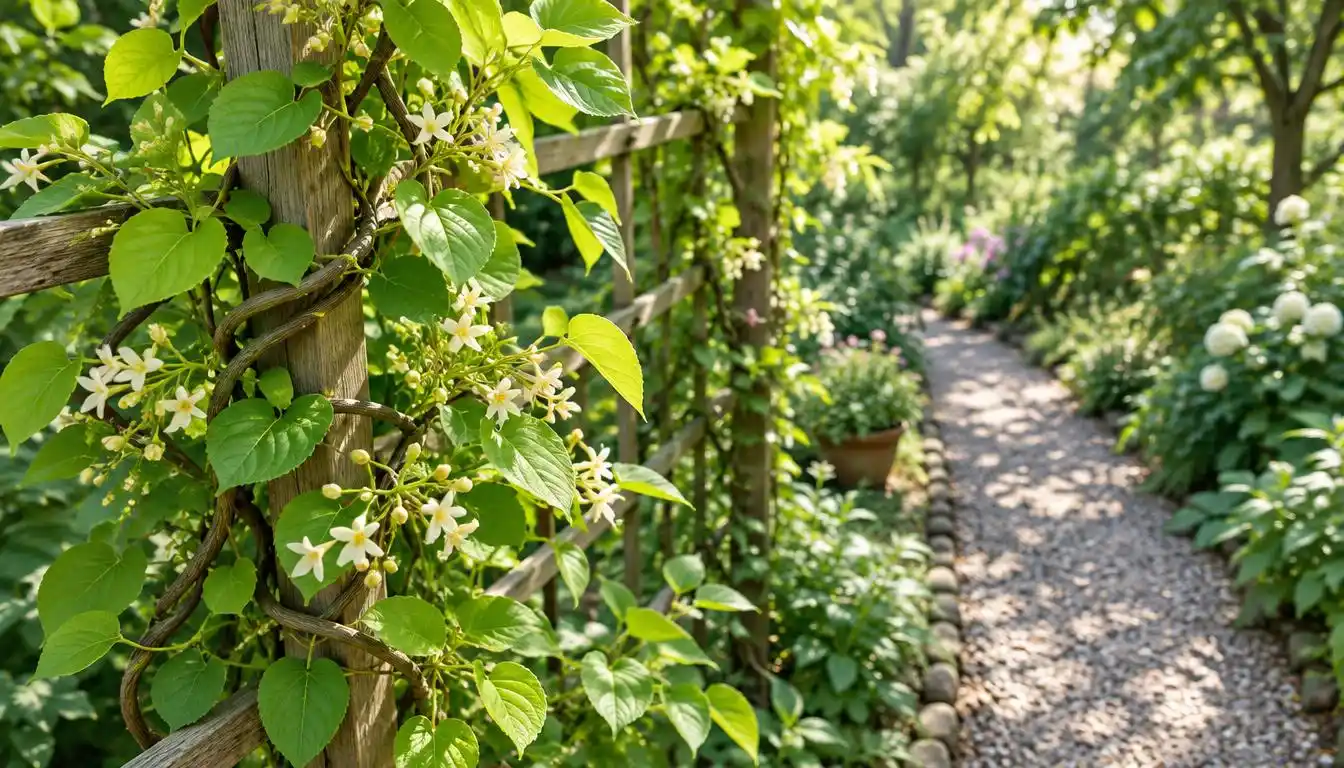
When vines spill into a path, a DIY garden trellis can give them a place to climb. Fruit hidden near the ground can also be hard to spot and pick.
Vertical gardening means growing plants upward on supports instead of letting vines spread across the ground. You can use this approach in raised beds, in-ground plots, or containers, even when space is tight.
Start by choosing a design that suits your plants and growing area. Then gather the right supplies, build the support, and add your plants. You can shape the project to fit your garden, your time, and the materials you have.
Key Takeaways
- Choose a structure that fits your crop and growing space.
- Build a bamboo teepee with four stakes and garden twine.
- Set and test the support before planting around it.
- Use loose ties to guide young vines as they grow.
- Give heavier crops a sturdy frame and a firm base.
One well-sized support is a practical starting point. First, consider what growing upward can change in your garden.
Why Grow Plants on a Trellis?
A trellis lifts vines and their produce into reachable space, making vertical growing useful in many gardens. It can help you use the space above a bed instead of letting vines spread across the ground.
A trellis brings climbing plants and their produce up into reachable space.
Keeping vegetables off the ground may reduce rot and dirt on produce. Better air flow around plants may also help limit some disease or insect problems, though a trellis cannot prevent every issue.
Produce that hangs within reach can make harvesting easier. You may bend less while picking cucumbers or checking a vine for ripe fruit.
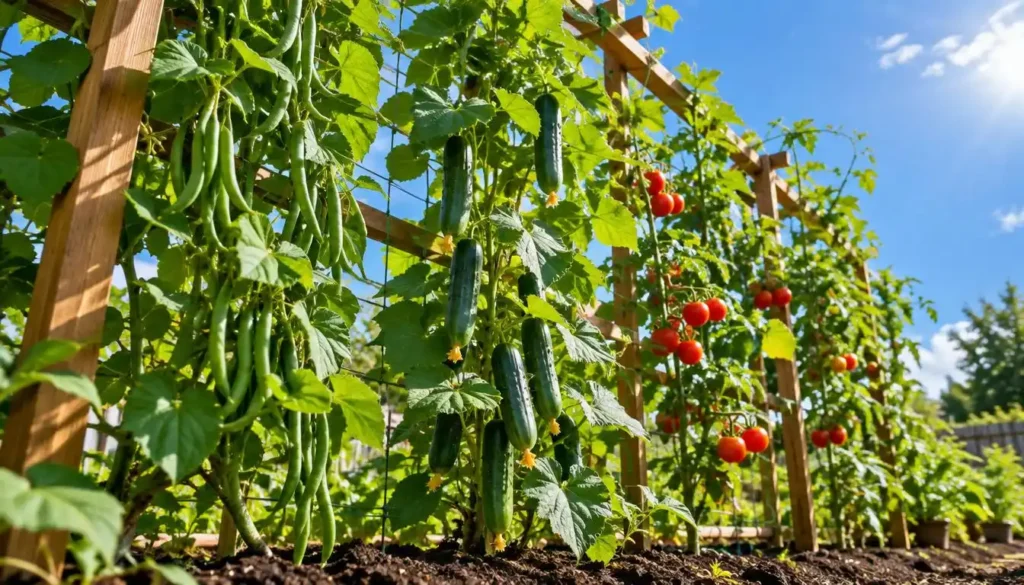
The right way to grow upward depends on what you are planting and where it will grow. Match the structure to your crop and available garden space.
Which Trellis Style Fits Your Plants and Space?
A compact vegetable bed may call for a small frame, while a path-side planting can suit an arch. The best trellis depends on your plants, the space, and how much support they need.
Choose a structure that can hold the mature crop, not just the young vines. Wood, bamboo, and metal panels each suit different garden ideas and growing areas.
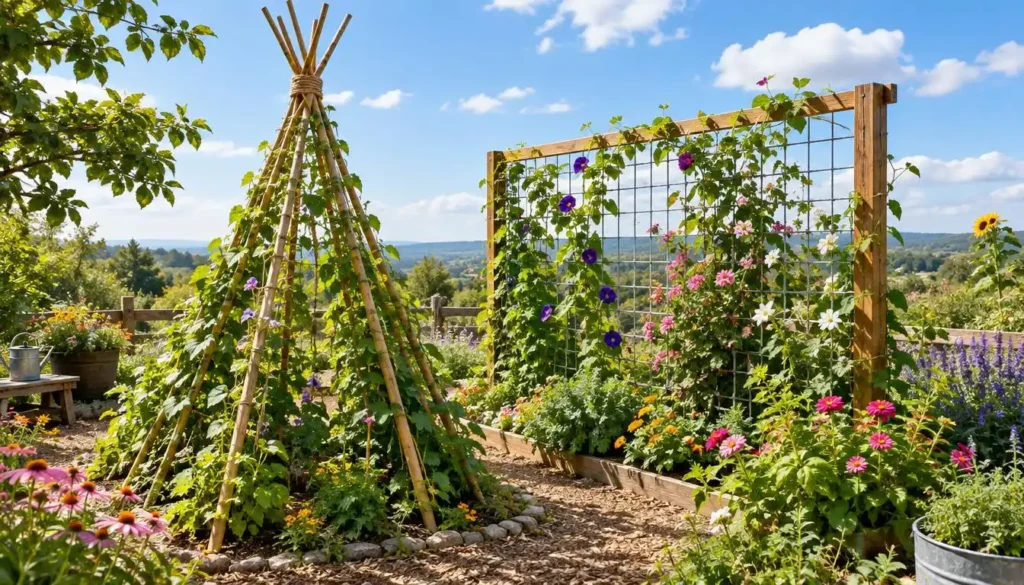
A wooden frame for a flexible climbing surface
A wooden frame gives you a simple, customizable surface for climbing plants. You can stretch string across it or add wood crosspieces to make spaces for vines to grip.
For tomatoes, use 1-by-1-inch stakes driven into the ground, with horizontal wooden rungs nailed between them. Add rungs as tomato plants grow, so the support can rise with the crop.
A frame can fit a raised bed or a narrow planting strip. PVC can also make a lightweight frame, but the finished structure still needs enough strength for the mature crop.
A bamboo teepee for light, climbing crops
A bamboo teepee uses several stakes joined at the top and spread across the soil. Its small base suits a compact bed, and its open sides give vines several routes to climb.
This shape works well for lighter climbing plants, such as peas and beans. Leave enough room around the base to reach the plants and check their growth.
A teepee does not need to match one fixed footprint. You can spread its feet farther apart for a wider bed, as long as the top joint stays secure.
A cattle panel arch for a walk-through structure
A cattle panel arch bends over a path or planting space, creating a larger surface for vines. It can let you grow on both sides while walking beneath the arch.
The metal panel needs firm support at both sides. Plan for its height and width before placing it, since a path-side arch takes more room than a small frame.
An arbor is typically a larger garden feature that can form an overhead passage. A trellis mainly supports plants, though an arched trellis can also create a walk-through form.
| Style | Main structure | Suitable use | Support consideration |
|---|---|---|---|
| Wooden frame | Wood stakes and rungs | Tomatoes and climbing vines | Add rungs as plants grow |
| Bamboo teepee | Four joined bamboo stakes | Light climbing crops | Keep the top joint secure |
| Cattle panel arch | Arched metal panel | Path or wide planting space | Support both sides firmly |
Once you choose a shape, consider its material needs and the tools you have. That choice will guide your supply list.
What Materials and Tools Do You Need?
Choose the frame before you buy supplies, so each item fits the design. For a bamboo teepee, gather four six-foot stakes and garden twine.
Keep the materials design-specific: a teepee needs much less hardware than a cattle panel arch. A sharp knife trims twine, and a mallet can help set the stakes.
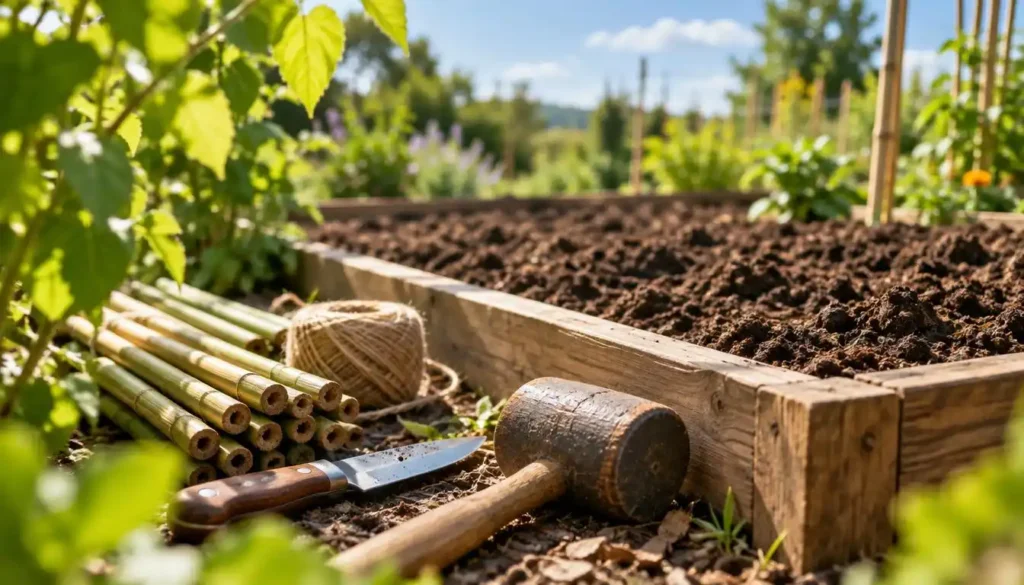
- Four six-foot bamboo stakes
- Garden twine for tying plants and the top joint
- A sharp knife for cutting twine
- A mallet, if needed to set the stakes
Wood frames need compatible lumber, fasteners, and a drill. DIY garden trellis woodworking is an option if you have basic cutting and drilling tools.
An arch needs heavier supplies: an approximately 18-foot cattle panel, two metal T-posts, and 10 medium zip ties. Use at least five or six ties on each post to secure the panel.
A cattle panel costs about $20-$25, and T-posts cost about $5-$6 each. The complete arch costs about $30-$35; these prices are an example, not a promise for every design.
T-posts are typically six feet tall, though five- or seven-foot posts can also work. Total cost depends on the material, size, and items you can reuse.
Gather the supplies for your chosen design before you begin. For the steps ahead, set out the four stakes, twine, knife, and mallet if needed.
How to Build a DIY Garden Trellis in Five Steps
Lay the four bamboo stakes and garden twine beside the bed before you start. This easy DIY garden trellis is a compact teepee, and a secure top joint helps hold its shape.
Install the trellis before planting when possible, so you do not disturb roots or stems during construction. You can adapt these DIY garden trellis plans by changing the footprint to fit your bed, while keeping the top tied firmly.
Notch the bamboo stakes
Lay each stake on a firm surface and find one end. Make a notch about one inch from that end, then repeat for all four stakes.
The notches give the garden twine a place to catch at the top. Keep each notch shallow and similar in size, so the stakes sit together without slipping.
Set the notched ends within easy reach. Check that the four stakes are still about six feet long and ready to join.
Lash the first two stakes together
Place two stakes side by side with their notched ends aligned. Wrap garden twine around both stakes near the notches, keeping the strands snug against the bamboo.
Tie the twine in a firm knot, then pull the stakes apart slightly to test the joint. The two stakes should open like a narrow pair of legs without the knot sliding.
If the joint shifts, wrap the twine again before adding the other stakes. A steady top helps the teepee keep its shape as you spread its base.
Tie in the remaining stakes
Lay the third stake beside the first pair, matching its notched end with the joined tops. Wrap and knot the twine around the group to hold the third stake in place.
Add the fourth stake in the same way. Keep the four notched ends close together, and tie the top securely so none can pull free.
Check the joint with a gentle tug. Tighten or add more wraps if a stake moves away from the group.
Open the teepee and check its shape
Lift the joined stakes and spread their loose ends across the soil. Move each foot until the teepee sits evenly, with a broad enough base for your planting area.
Look at the frame from more than one side. Adjust the feet if the top leans sharply or one side looks crowded.
A smaller footprint can suit a narrow bed, while a wider one gives vines more room. Keep the top joint firm as you change the footprint to fit your space.
Set the feet in the soil
Push each stake several inches into the ground to help steady the teepee. Press soil around the feet, then check that all four contact the ground firmly.
Step back and look at the frame from each side. If it rocks, adjust the feet or spread the base until the teepee stands evenly.
Keep a little room around the support for planting and tending your crop. A freestanding trellis may need extra stabilization based on its placement and the mature crop’s weight.
How Can You Anchor and Stabilize a Freestanding Trellis?
Before planting, gently test the frame in the direction wind or vines may pull it. A steady support should not rock or shift when you check it by hand.
Check that the trellis is level and stable before adding plants, and consider the mature vine and produce weight. Set its feet on firm soil, and push them into the ground where the design allows.
A ladder or wood pallet leaning against a fence or wall may need extra support. Place paving stones under its lower end to help keep it in position.
A cattle panel arch uses metal T-posts on both sides to hold its shape. You can place the arch in a raised bed or directly in the ground.
Look at the frame from each side before planting. Check for a tilt, loose contact at the base, or movement when you gently press the top.
Where you place the trellis and what you grow both affect how much support it needs. Once it stands firm, choose crops and a planting arrangement that suit its shape.
Which Plants Grow Well on a Trellis?
Pole beans are a natural match because their vines climb as they grow. Peas and beans suit lighter structures, while heavier squash and melons need sturdy support.
Match the support to the mature crop: peas and beans need less strength than heavy squash and melons.
- Beans: scarlet runner, lima, pole, and noodle beans
- Cucumbers: pickling and slicing types
- Peas: snap, snow, and sugar peas
- Squash: summer squash and large winter squash
- Melons and climbing tomatoes: Banana and Kajari melons, plus Trip-L-Crop tomatoes
Guide young vines toward the frame as they lengthen. When a vine needs help staying in place, tie it loosely with garden twine.
In a raised bed, leave about four to six inches between the bed edge and an arch post. This leaves space to plant inside the arch.
Mixing three inches of garden soil into the top six inches of existing soil adds organic matter. After plants have been in the ground for a month, you may apply plant food according to its label.
A DIY garden trellis for climbing plants can also suit a sunny indoor climbing plant, if its container, light, and support fit its needs. A DIY trellis for climbing plants indoors does not make every vegetable suitable for indoor growing.
Check the mature crop’s weight and the room available for planting before you choose what to grow. A good match lets the vines climb without crowding the bed or overloading the support.
Conclusion
Start with one well-placed support that fits the plant’s size. A straightforward frame can give your garden a useful growing surface without turning a small project into a major build.
Measure your chosen bed or ground space, then gather supplies for one trellis. You can see how it works through the growing season before taking on more projects. Enjoy the time outside and the new growth along the frame.
FAQ
What is the cheapest way to make a garden trellis?
The cheapest option is often a frame made from materials you already have. Reuse straight branches, bamboo, scrap wood, and leftover garden twine when they suit the crop. Check each piece for rot or cracks before using it. A few reused pieces can make a simple support, while buying new materials adds to the cost.
Is it cheaper to build your own trellis?
Building your own trellis can cost less, especially when you reuse materials. Compare the cost of lumber, fasteners, and supports with the price of a ready-made structure. The size and strength you need affect that comparison. A small bamboo teepee may take few supplies, while a large arch needs a heavier panel and strong posts.
What to use instead of trellis?
A sturdy fence, ladder, or wood pallet can support climbing plants instead of a trellis. Make sure the structure can bear the mature plant’s weight, not just a young vine. Secure leaning options so they cannot slide or fall. A fence also needs a surface the plant can grip, or loose ties to guide its stems.
How do I build a DIY garden arbor trellis?
Use an approximately 18-foot cattle panel bent between two T-posts to make an arched garden support. Set one post, then ask someone to help hold the panel while you bend it and place the second post. Secure the panel to both posts with zip ties. The arch can span a path, but plan its size before setting the supports.
What is the difference between a trellis and an arbor?
A trellis mainly supports plants, while an arbor is typically a larger garden structure that can form an overhead passage. An arbor may frame a walkway or garden entrance. An arched trellis can also create a walk-through space, so the terms may overlap in garden use. The main difference is whether plant support or an overhead feature is the primary purpose.
How do you stabilize a freestanding trellis?
Set the feet firmly into soil when the design allows, and check that the frame does not rock. Add a stable base or ground anchors if it shifts under wind or mature crop weight. A leaning ladder or pallet may need paving stones under its lower end. For a cattle panel arch, use T-posts on both sides.
How to make a free standing trellis?
Build a simple freestanding teepee with four six-foot bamboo stakes and garden twine. Tie the stakes together near their tops, then spread the feet evenly across the soil. Push each foot several inches into the ground to steady the structure. Check that the teepee stands without rocking before planting vines around it.
How do I anchor my trellis to the ground?
Push stakes or trellis feet several inches into firm soil when the design allows. A cattle panel arch uses T-posts on both sides to hold the panel. For a leaning ladder or pallet, place paving stones beneath the lower end for added support. Test the frame by hand before planting, and secure it further if it rocks.