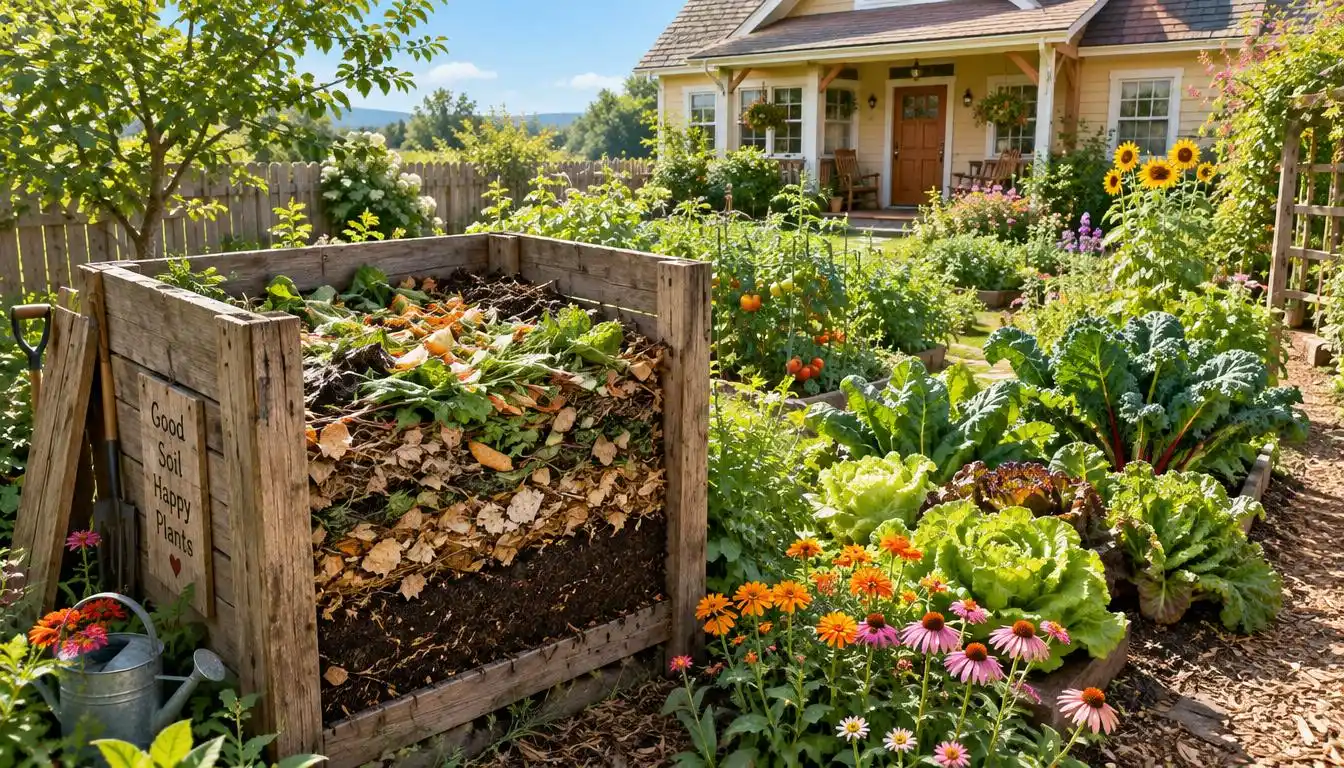
A small amount of planning is enough to turn everyday scraps into a useful part of your garden routine with a DIY compost bin. Greens are fresh, nitrogen-rich materials such as food scraps, while browns are dry, carbon-rich materials such as leaves and paper.
You can make a practical bin with common materials and a few straightforward steps. Keeping suitable kitchen and yard waste out of the landfill gives you another reason to start.
Finished compost can return useful organic matter to your garden soil. Your setup can be as simple as a lidded storage bin or a larger framed structure.
This project works best when you choose a style that fits your home and routine. You will have a clear path from choosing a setup to knowing when the compost is ready.
Key Takeaways
- Choose a bin style that suits your space and composting routine.
- Use airflow, a balanced mix of greens and browns, and sensible moisture.
- Cover fresh food scraps with browns or soil.
- Keep dairy, pet waste, grease, and plastic out of a basic backyard bin.
- Look for dark, crumbly material with an earthy smell before using compost.
How to Choose a DIY Compost Bin for Your Space
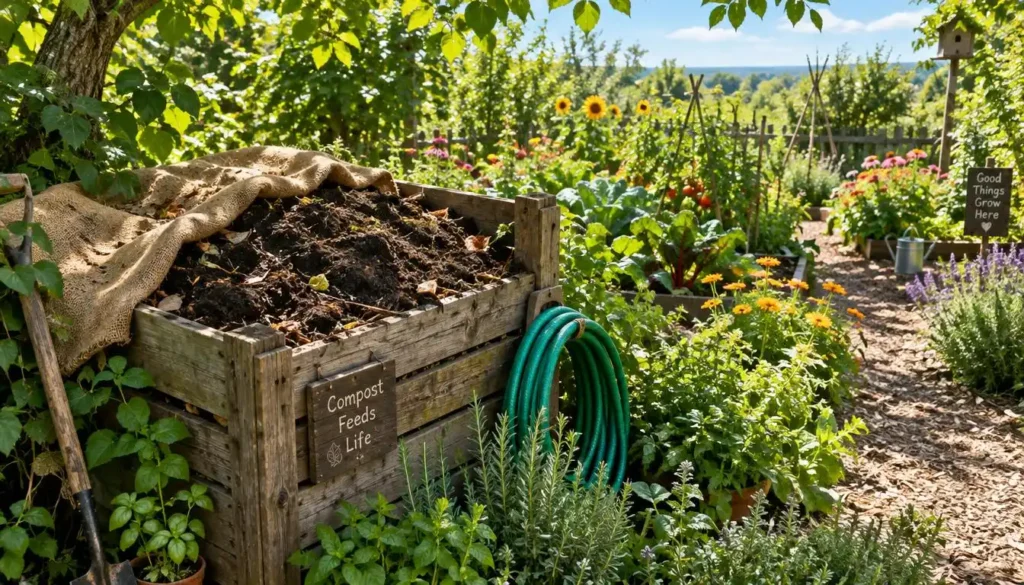
A shady outdoor spot near the garden or hose is a convenient choice for a simple backyard setup. Keep a wooden bin at least 6 inches from fences and other structures.
Choose shade near the garden or hose, and leave wooden bins at least 6 inches from structures.
Place an outdoor compost bin away from the house, with room to reach it. An outdoor DIY compost bin also needs a level place where water can drain.
Choose an outdoor spot or an indoor setup
You can compost indoors if you have no yard. Pick an indoor DIY compost bin made for indoor use, with suitable containment and placement.
Do not set a drained outdoor bin on an unprotected floor. A leak can damage flooring, so use a setup that catches liquid safely.
Match the bin style to your space and routine
Different bins suit different spaces and habits. A small lidded storage bin takes little room, while a wooden or pallet-style build holds more material.
| Setup | Suitable location | Airflow or access | Best fit |
|---|---|---|---|
| Lidded storage bin | Shady yard or protected indoor area | Drilled vents; lift-off lid | Small batches and tight spaces |
| Indoor compost setup | Protected indoor floor | Contained system; easy access | Homes without a yard |
| Wooden or pallet bin | Shady yard, away from house | Open sides; front access | Larger yards and steady use |
Think about your available space, how often you will add scraps, and how much access you need. Once the setting and style fit your space, identify the materials and tools that suit that build.
Which Materials and Tools Do You Need?
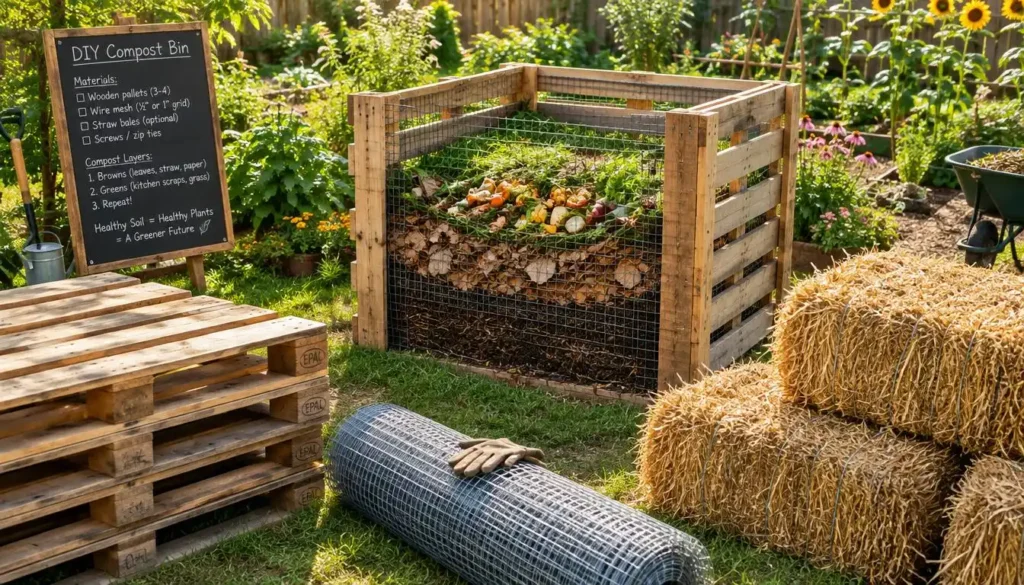
A lidded storage bin, a drill, and a few basic compost ingredients are enough for the simplest build. A storage-bin project needs fewer parts than a framed wooden structure.
Keep supplies together before you start. You can use these compost bin examples to compare the work involved and the access each design offers.
Gather supplies for a lidded storage bin
For a basic build, gather the following materials and tools:
- A sturdy lidded plastic storage bin
- A drill and drill bit
- Dry leaves for the base
- Soil to add to the first layers
- Water for adjusting moisture later
Consider a framed or pallet-style alternative
A framed wooden build needs extra lumber, hinges, latches, and hardware cloth. Hardware cloth is metal mesh; 1/2-inch openings allow airflow while helping contain compost.
A sturdy framed bin can use untreated cedar, a hinged lid, and a lower access door. Building a large wooden bin can take 4-6 hours of hands-on work.
For a DIY compost bin from pallets, choose sound pallets suitable for this use. Do not assume every pallet is safe or in good condition.
Before cutting, sketch dimensions, lid clearance, and access points. Compost bin design drawings can be simple, but they should show how the lid opens and how you will reach finished material.
| Build | Main materials | Construction effort | Access or airflow features |
|---|---|---|---|
| Storage-bin build | Lidded plastic bin, drill | Low; basic drilling | Drilled vents; removable lid |
| Framed wooden build | Untreated cedar, hardware cloth, hinges | 4-6 hours of hands-on work | Mesh sides; lower access door |
| Pallet-style build | Sound, suitable pallets and fasteners | Varies with pallet condition | Gaps between boards; open front |
After choosing the build and setting out its supplies, make the basic lidded bin ready for airflow and filling.
How Do You Build a Simple Bin With a Lid?
A lidded storage bin about 24 inches tall or taller gives you a straightforward starting point. A 30-gallon bin is one workable size for this DIY compost bin with a lid.
The best DIY compost bin design for this project keeps the lid secure while letting air move through small openings. Follow these steps in order.
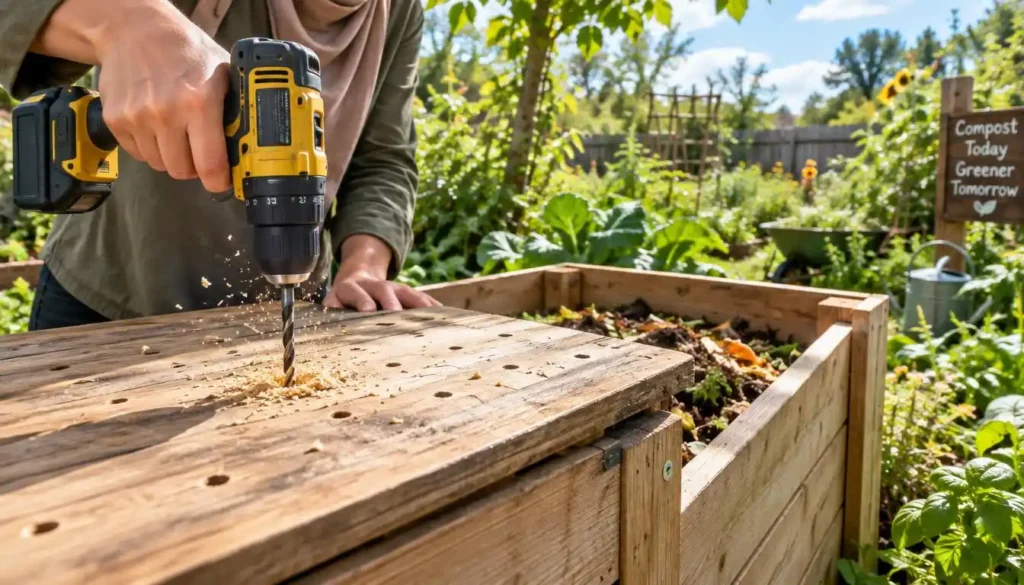
Drill ventilation holes and fit the lid
- Select a sturdy storage bin with a matching lid.
- Use a 3/16-inch drill bit or similar to make 8-10 small holes in the bottom.
- Drill another 8-10 small holes in the lid.
Spread the holes across the bottom and lid instead of clustering them. Small openings let air move and help drainage without leaving large gaps.
Fit the lid after drilling. A secure lid helps keep out rain and animals outdoors, but the bin still needs airflow.
Add the base and prepare the first layers
- Add dry leaves until they fill about 1/8-1/4 of the bin.
- Add soil until the container is about half full.
The leaves create a dry base, while soil adds material to the early mix. Do not pack the layers tightly, since air must move between them.
With the bin ventilated and its base in place, decide what belongs in the first load.
What Can You Put in a Compost Bin?
A good first load pairs fresh fruit and vegetable scraps with dry leaves, paper, or other browns. Cover food scraps with browns or soil to keep them tucked inside the mix.
Greens add fresh, nitrogen-rich material, while browns supply dry, carbon-rich material. A mix gives the compost pile different materials to break down.
Balance greens with browns
Suitable greens include fruit and vegetable scraps, coffee grounds, tea bags, and grass clippings. Browns include paper, cardboard, dry yard clippings, and leaves.
Banana peels are suitable scraps, and rotten potatoes can go in if they are not mixed with prohibited materials. Eggshells, nutshells, and coffee filters also fit a basic home bin.
You do not need worms in a simple soil-based bin. Soil, air, and suitable scraps can support the process without adding worms.
Keep unsuitable materials out
Leave these five items out of a basic backyard bin:
- Meat and fish
- Dairy products
- Pet waste
- Cooking oil or grease
- Plastic, including zipper storage bags
These limits help keep a small home setup manageable. Keep vegetables separate from meat, dairy, or oil before adding them.
Once the right ingredients are in the bin, keep their balance and moisture suitable as they break down.
How Do You Maintain the Compost Pile?
A brief weekly stir is a practical routine for moving air through a home compost pile. Turn or stir the contents about once a week.
Mixing moves air through the material and helps spread fresh additions. A small hand tool can reach the pile in a lidded storage bin.
Turn the contents to move air through the pile
Stir the contents from the edges toward the center. Break up dense clumps so air can reach more of the material.
Cover newly added scraps with browns or soil. This keeps fresh food beneath the surface and helps the mix stay even.
Keep the mixture moist, not waterlogged
Check moisture when you stir. Add water only as needed to keep the contents damp, not soaking wet.
Too much water can limit airflow and slow the process. A poor balance of greens and browns can also disrupt decomposition.
If the bin gets rain, check its contents before adding more water. Small changes are easier to manage than a soaking pile.
Consistent care helps the contents break down, so next check how to recognize finished compost.
How Do You Know When Compost Is Ready?
Compost is ready when it looks and smells more like dark, crumbly soil than recognizable scraps. Look for four signs: broken-down scraps, an earthy smell, no warmth, and a dark, crumbly texture.
Finished compost may take a couple of months or as long as a year. The bin size and how recently you added new material affect the time.
Check the center of the pile, not just the top layer. New scraps can remain visible even when older material has broken down.
Use finished compost as mulch, potting soil, or a lawn conditioner. These uses return organic matter to your garden and soil.
Save at least one-third of the finished compost to help continue the process. Leave it in the bin as a base for future additions.
If the pile is taking longer or smells wrong, identify the likely problem before making a change.
What Can Go Wrong With a Home Compost Bin?
A sour smell, an overly wet pile, or exposed scraps each calls for a different adjustment. Add dry browns to a wet, sour pile, and reduce watering.
Match each problem to one small change: dry browns for wet compost, water for dry compost, and a secure lid for exposed food.
A dry pile needs a little water, added gradually. Too much moisture can block airflow and disrupt composting.
Exposed food can attract animals, so bury scraps and secure the lid. Large ventilation openings or gaps can also let pests into the bin.
Keep enough airflow for the pile, but close easy routes for animals. Make one small correction, then give the pile time to respond before changing several things at once.
Conclusion
A workable compost routine begins with a bin that fits your space and scraps you can collect consistently. Airflow, a balanced mix, and sensible moisture help the contents break down.
You do not need a large structure to begin. A lidded storage bin can be a manageable first project for a home garden.
Choose the place for your bin, then gather the materials for the design that suits your home. Prepare your first batch of browns so you can cover fresh scraps from the start.
FAQ
What vegetables should not be composted?
Most plain vegetable scraps are suitable for a basic home compost bin. Keep vegetables out if they are mixed with meat, dairy, or cooking oil. Those added materials can cause trouble in a small backyard setup. Separate the scraps before composting, and cover suitable vegetables with browns or soil.
How do I know when my compost is ready?
Compost is ready when scraps have broken down, the smell is earthy, the pile is no longer warm, and the texture is dark and crumbly. Check the middle as well as the top, since newer additions may still show. If the pile remains warm or contains clear scraps, give it more time.
Can I put banana peels in my compost?
Yes, banana peels are suitable fruit scraps for a home compost bin. Tear or cut large pieces if you want them to mix more easily with other material. Cover the peels with browns or soil rather than leaving food exposed. They can break down alongside other suitable kitchen scraps.
How often should I pee on my compost?
You do not need to add urine to compost; the pile can break down without it. Urine is not a replacement for balancing greens and browns or keeping the contents damp. Use water only when the pile feels dry, and avoid soaking it. A simple soil-based bin needs no special liquid addition.
What are 5 items that should not be composted?
Leave meat and fish, dairy, pet waste, cooking oil or grease, and plastic out of a basic backyard bin. These materials do not suit a simple home pile. Plastic includes ordinary zipper storage bags. Keep food scraps free of these items, then cover suitable additions with browns or soil.
Can ziploc bags go in compost?
No, ordinary zipper storage bags are plastic and do not belong in a home compost pile. Remove the food scraps from the bag and compost only suitable material. Do not put a bag in because it looks clean or holds food. Plastic does not break down like leaves, paper, or kitchen scraps.
What ruins compost?
Too much water, an imbalanced greens-to-browns mix, poor airflow, or exposed food can cause problems. Add dry browns to a wet pile, and add a little water to a dry one. Stir the contents to move air, and bury food scraps under browns or soil. Change one thing at a time.